|
Page 2 The project begins |
|
Since it's very cold outside, paint and bodywork is pushed forward a bit, it's so much easier and cheaper to heat the garage to painting temperatures when it's warmer outside.
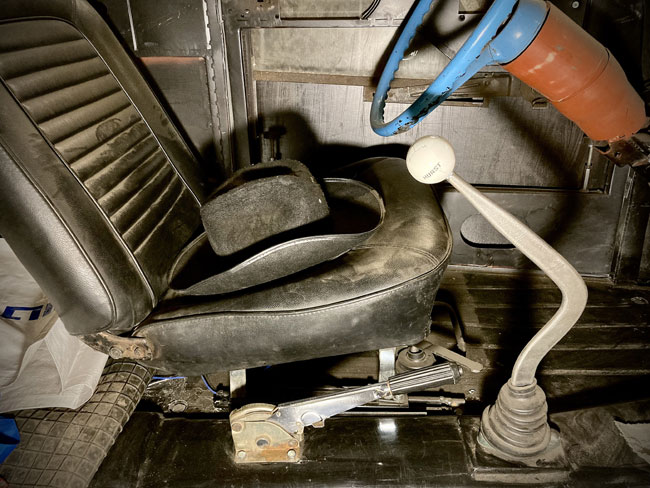
Something off the To Do list was picked, and it happened to be the E-brake, mounted between the seats here.
|
|
|
|
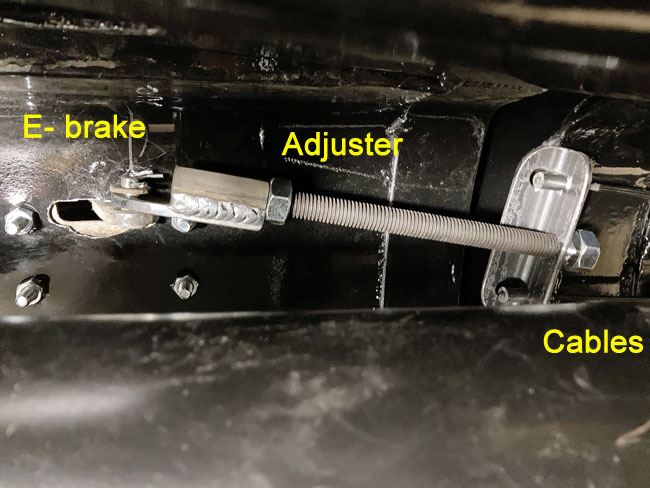
Seen from below here is the adjusting mechanism and the equalizer bar that theoretically will apply the same force on both cables when the hand brake is pulled. |
|
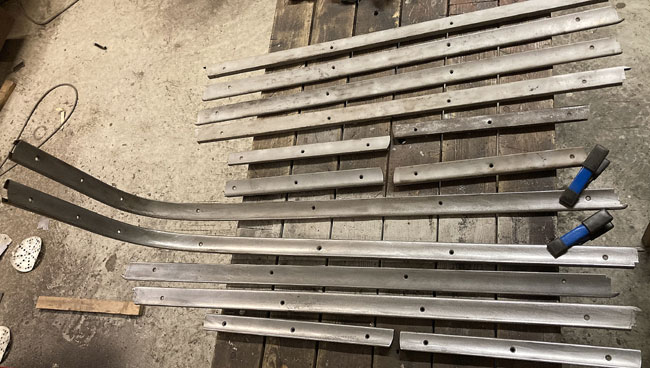
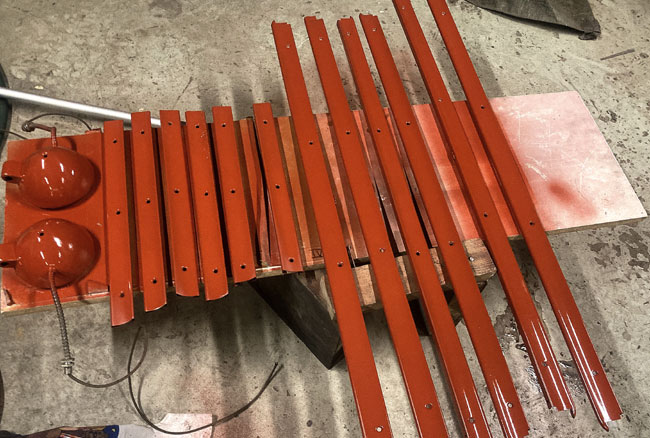
The garnish moldings were dusted off and trial mounted, some pieces shortened to fit as the inside of the doors and window openings aren't stock anymore, then all holes for the sheet metal screws were drilled. Next, the media blasting cabinet was put into action, all parts blasted and then sanded with 320 grit to make them ready for primer. |
|
|
|
The parts, along with the tail light housings were then painted with oxide red primer. |
|
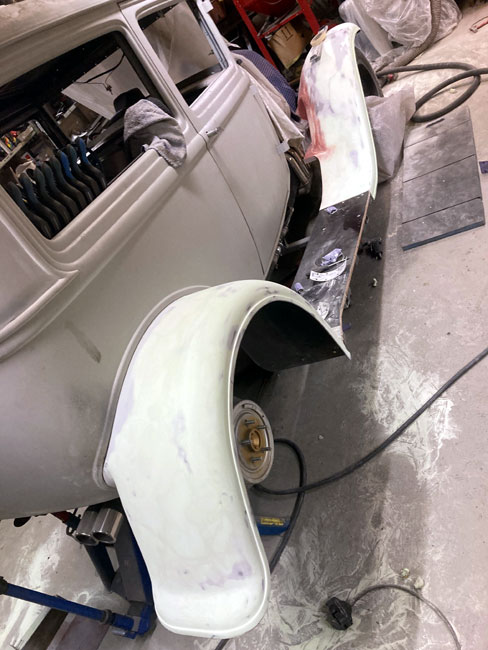
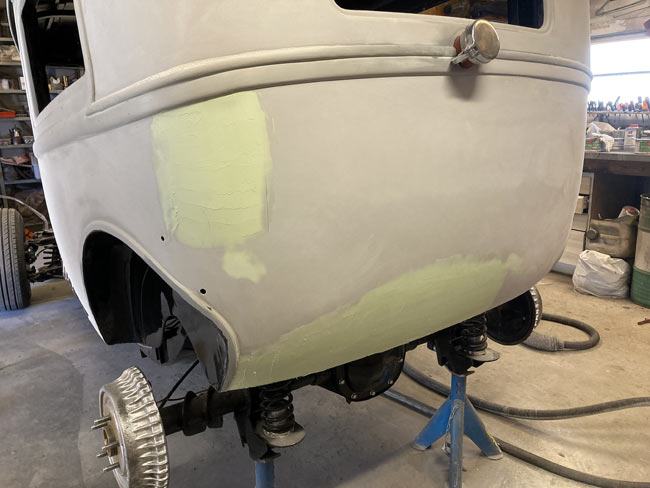
A lot of parts were removed from the body itself for paint.
The fenders, running board moldings and aprons were sanded with 180 grit to take epoxy.
|
|

|
|
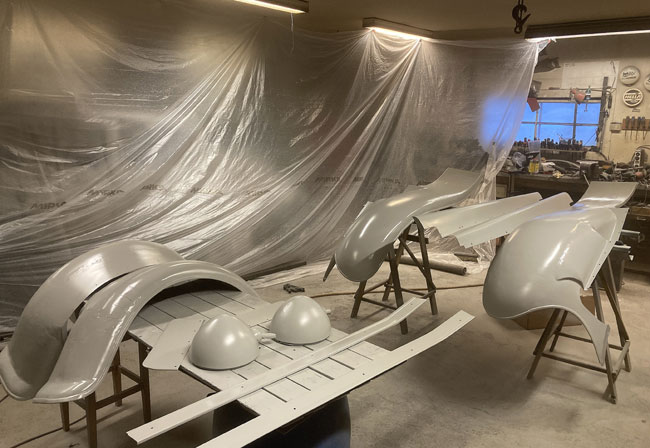
Hardener was applied to the epoxy, and thinner was added,the leaf blower ventilation system was turned on and a couple coats of epoxy was laid on all the parts. Everything is gray.
The temperatur in the garage is slowly rising, another day and we'll be able to start using body filler.
|
|
About twenty endless days of filler and sanding work. |
|
|
|
Finally time for a couple good coats of epoxy used as sanding sealer.
|
|
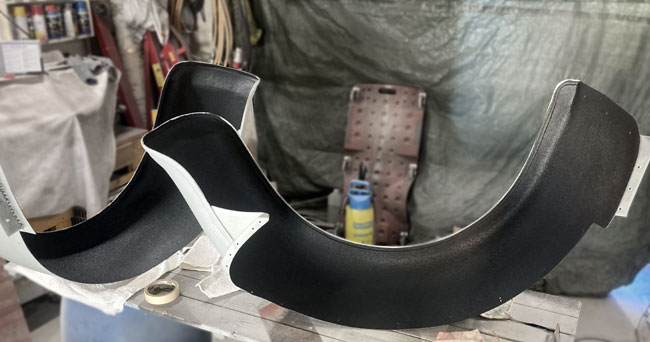
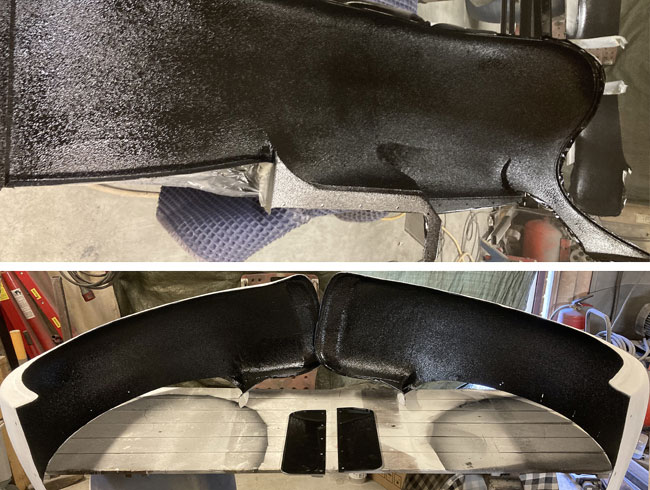
Several coats of 3M rocker panel coating was sprayed on the insides of the fenders. It's good stuff and makes for a thick layer of rubbery protection. |
|
|
|
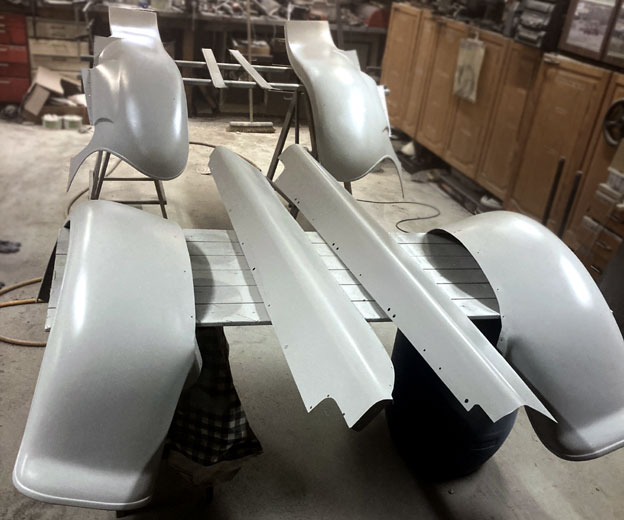
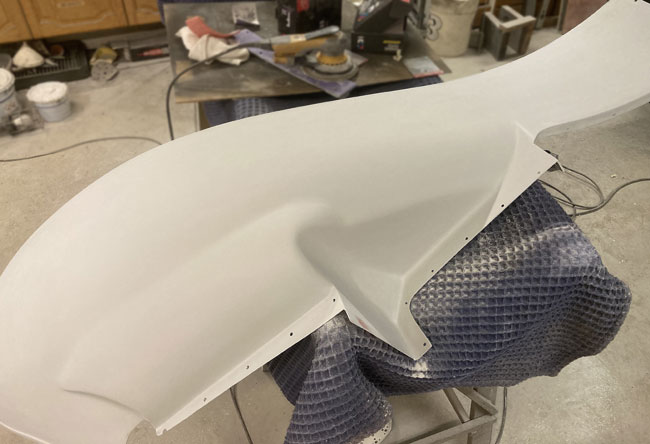
The fenders are block sanded with 180 grit, then with finer grits to make a silky smooth surface for the paint. |
|
The rocker panel coating got a few coats of industrial 2K paint to protect the inner surface of the fenders. After the paint has hardened the fenders were sanded smooth, ready for paint, and sent away to the paint shop. |
|
|
|
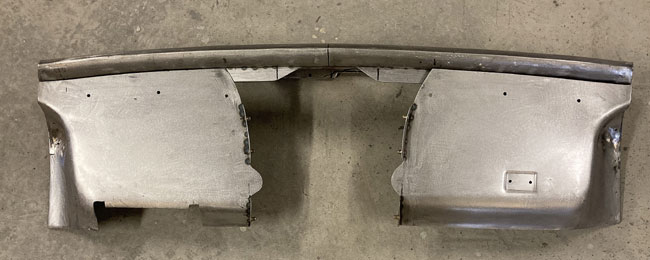
It's time for the dash and a few other parts to be body worked. The dash was removed from the car, as was the steering column and doors. |
|
|
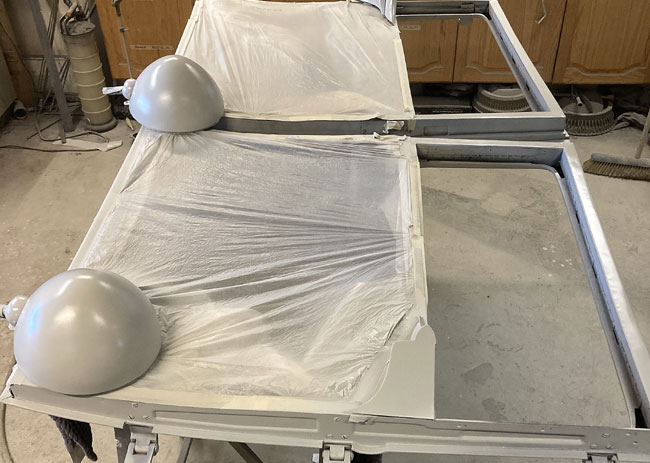
The door jambs and openings needs to be painted before the whole car goes away for paint. A few days ago the headbuckets were forgotten when the fenders got their last coat of epoxy, but now they got painted along with the other parts. |
|
The dash before primer. |
|
|
|
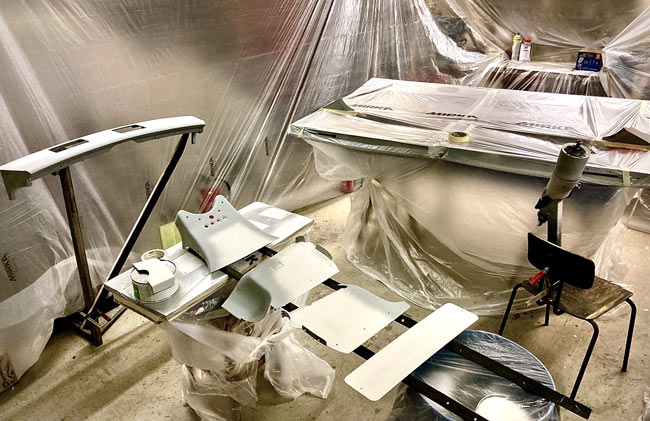
The dash parts, steering column and a few odds and ends were final sanded after body work.
|
|
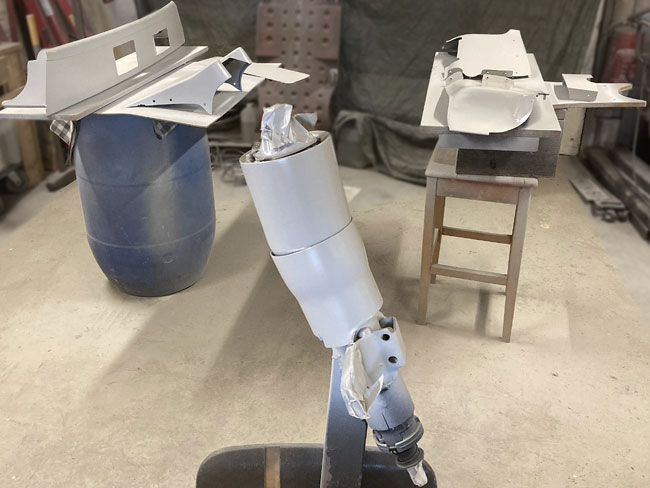
Now we have a room full of painted parts. |
|
|
|
Time to get busy with the body. block sanding with 180 grit, then 320 on the orbital sander and 400 grit hand sanding paper for the details. Of course some areas that needed more filler and sanding work. |
|
When the body work was done it was time to paint the door jambs and the insides of the roof and doors. |
|

|
|
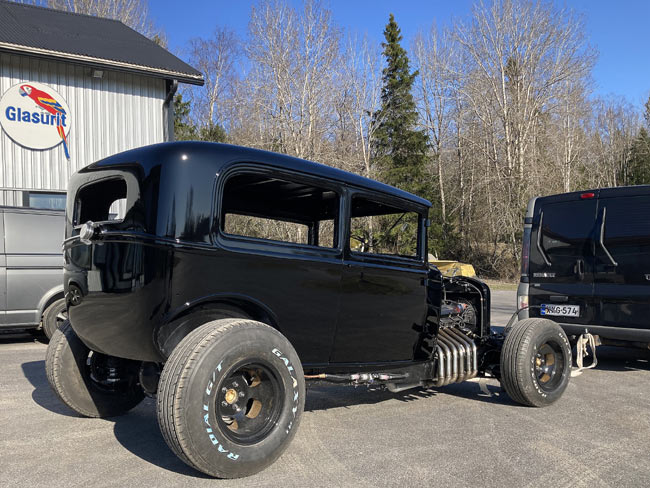
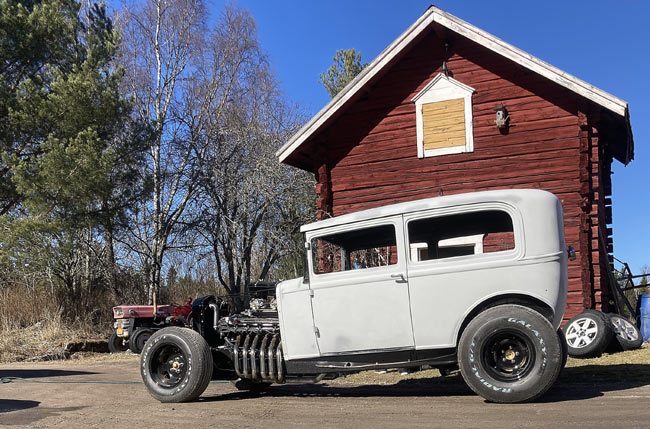
Out of the garage for a small drive. When we reached the paved road, my son towed me to the paint shop, some three miles away. |
|
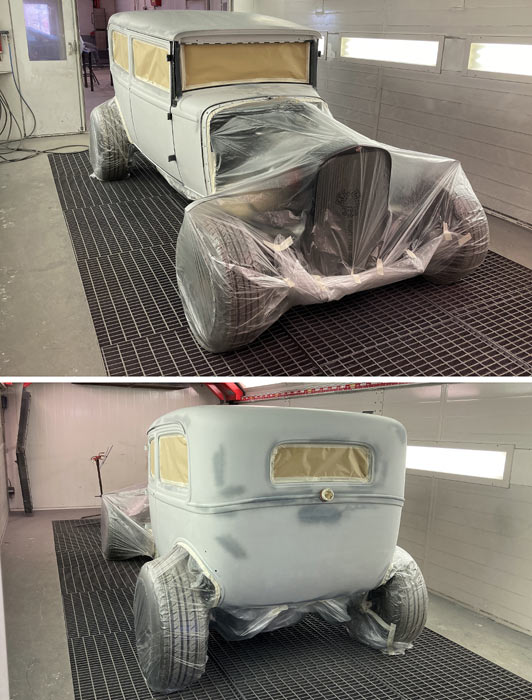
Taping and covering done. Finally ready for paint after six and a half years of time spent with this project. |
|
|
|
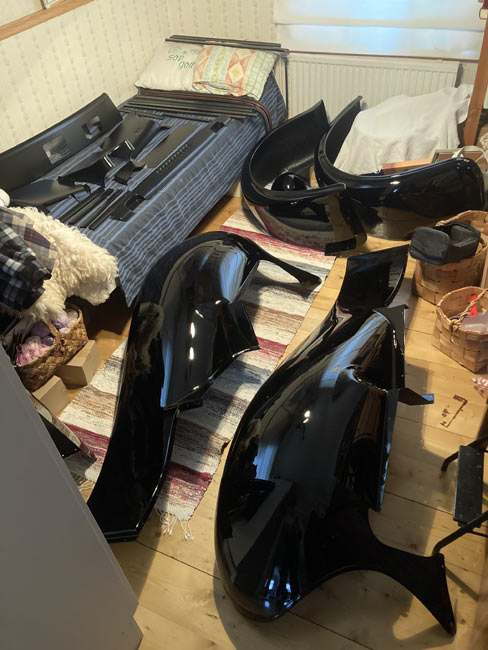
Covered in nice layers of Glasurit two stage paint and glossy clear, about to be towed back home to the garage. |