|
Page 2 The project begins |
|
Finishing the work on the body and getting some things done, before lifting it off the frame for paint.
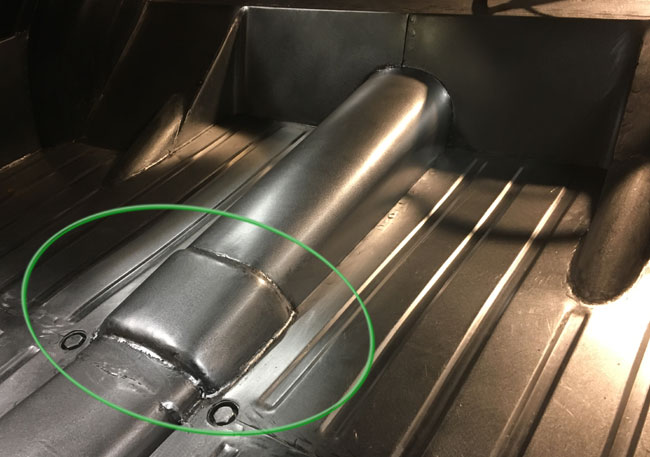
Checking off items from the to do list, the rear most part of the floor was made as there was a 2" slice missing. Also missing was a piece in the middle of the
transmission tunnel.
|
|
|
|
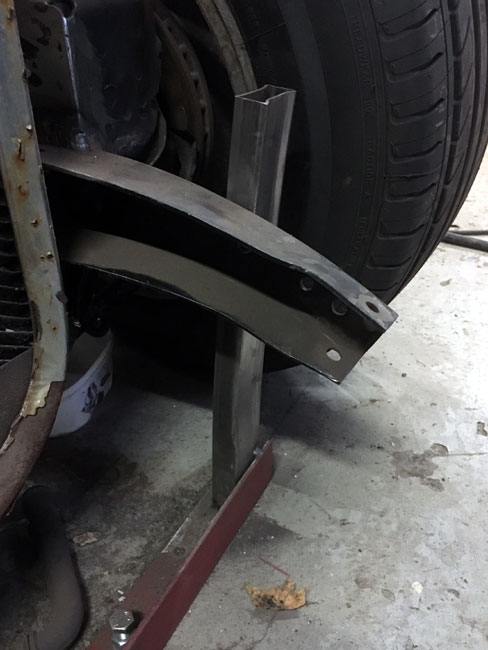
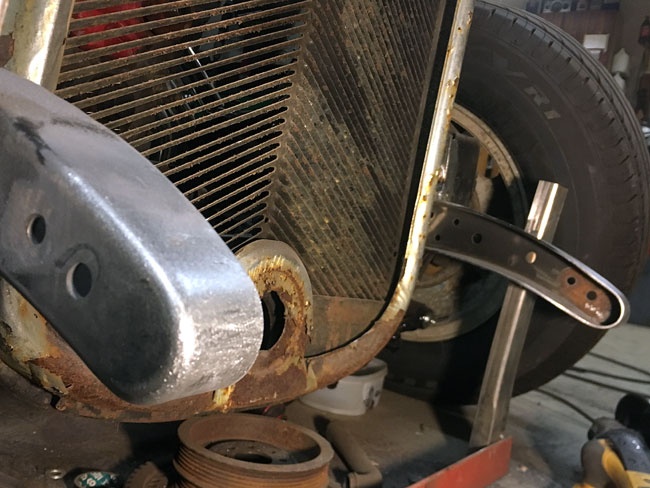
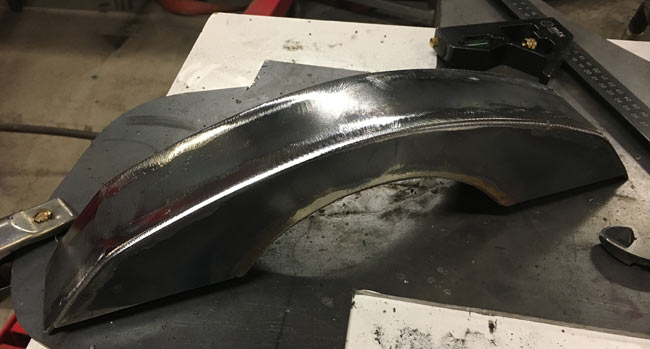
The front ends of the frame rails need some attention.
|
|
The top and bottom flanges were shortened about 5/8" to get the right look, then the ends of the frame rails were capped with a piece of
|
|
|
|
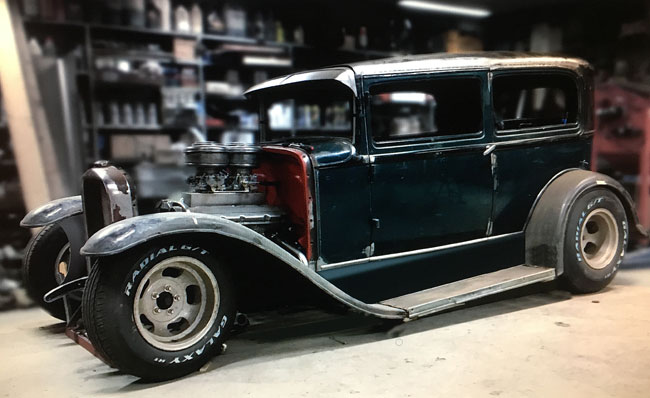
The fenders mocked up, and with a bit of photoshopping the result is more or less what this project is going to look like. |
|
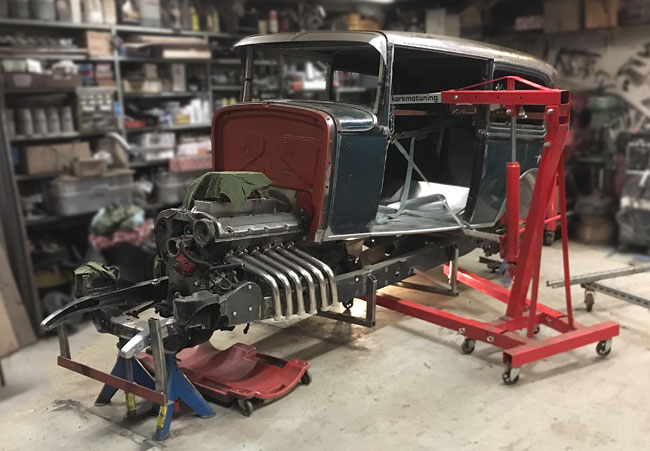
Now is as good time as ever to take the body off the frame.
|
|
|
|
The body was hoisted onto a caster wheel dolly, so it can be moved around while it's off the frame. |
|
It's surprising how small the engine looks with carbs, intake and exhaust primaries removed. |
|
|
|
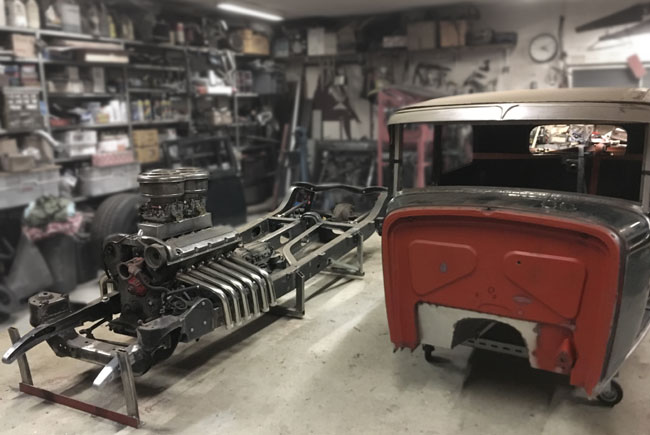
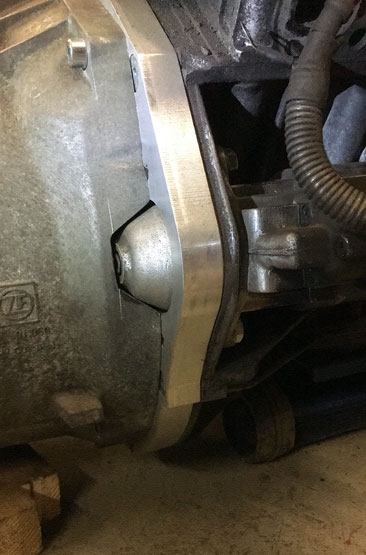
A couple days later, the engine and transmission were pulled from the frame. As the engine and transmission aren't meant to work together, a pice had to be out of the bellhousing for the starter, since it's located differently in this application. |
|
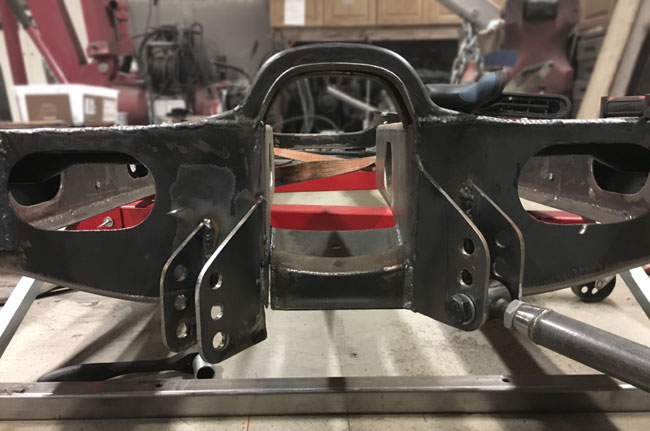
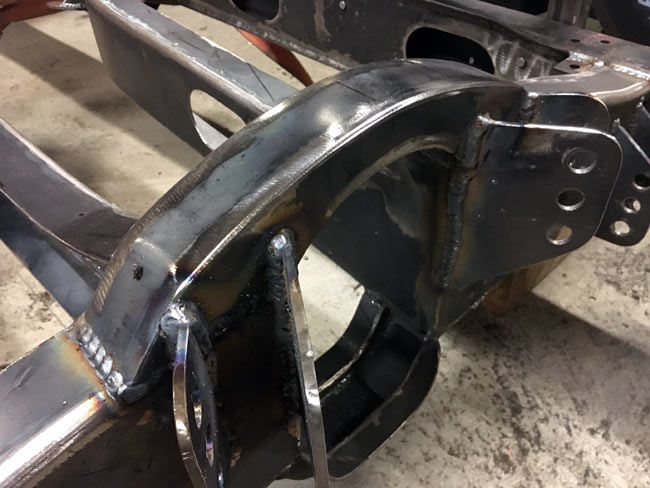
Plans change, and during the project bigger rear wheels, than originally planned, will be used, so the front four link mounts have to be lowered
about 1-1/4" to compensate. Left hand ones are tacked in their new position here.
The piece of frame that goes under the prop shaft is partly cut here. This little cross member will be redone to minimize the risk of the prop shaft hitting it. |
|
|
|
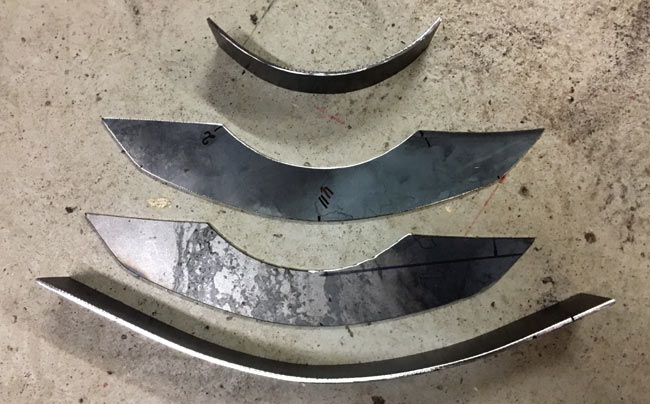
Parts for the new center piece for the frame. |
|
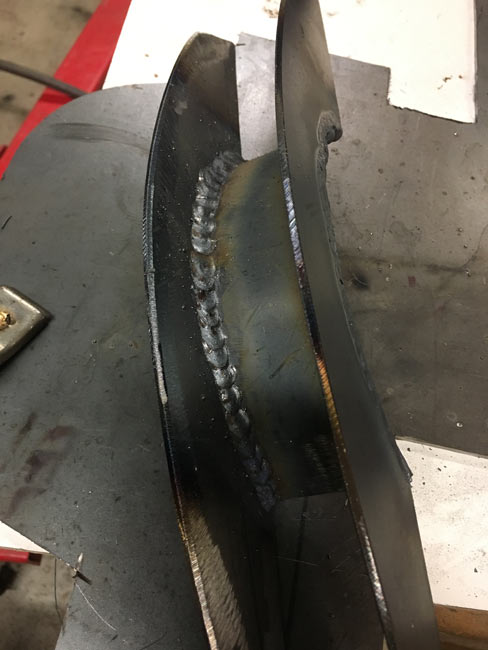
The pieces were welded, starting with welding on the inside, to make the little crossmember sturdy, even when it's ground on the outside. |
|
|
|
Completely welded and ground. |
|
The right hand side four link bar mounts were also tacked in and then everything was fully welded. |
|
|
|
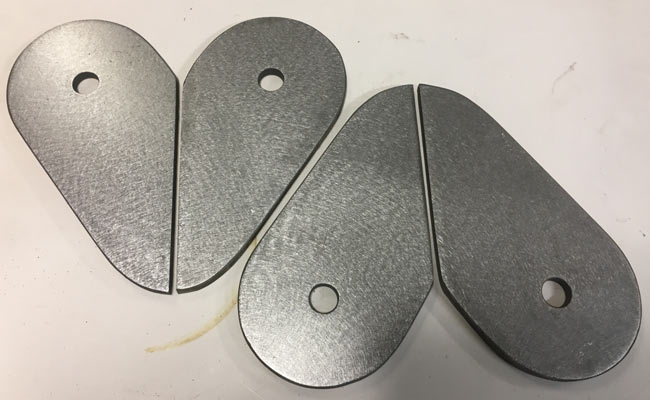
Brackets for the strut rod ends were made. They're two slightly different sizes, because the frame slopes downward towards the back. |
|
Strut rod ends ready for paint.
|
|
|
|
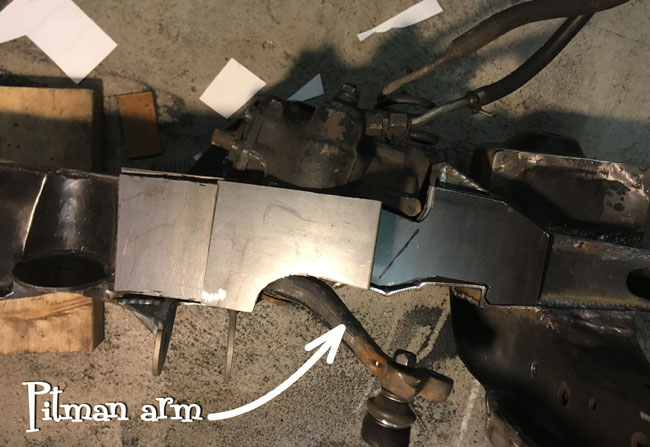
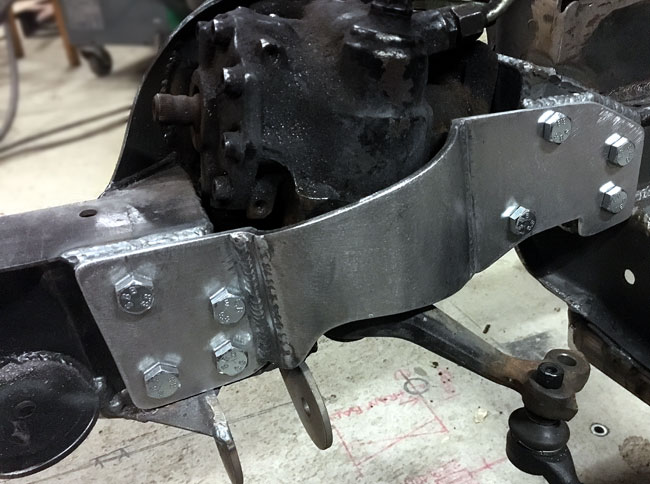
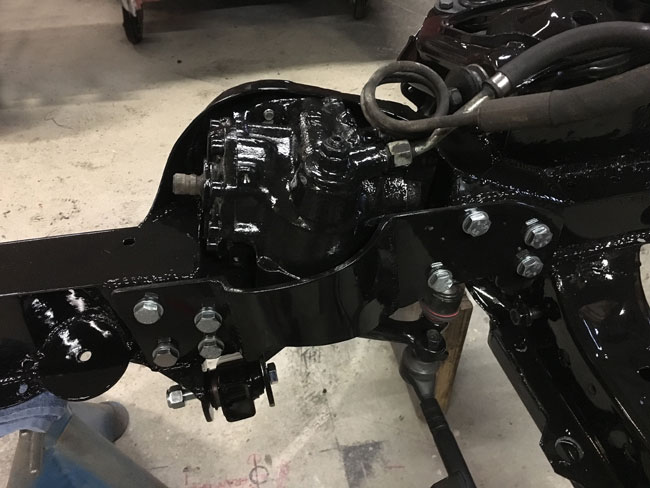
The steering box is mounted inside the frame rail, and a sturdy support bracket is made to make certain that nothing moves under load. |
|
Support bracket mounted to the frame with eight M12 bolts.
|
|
|
|
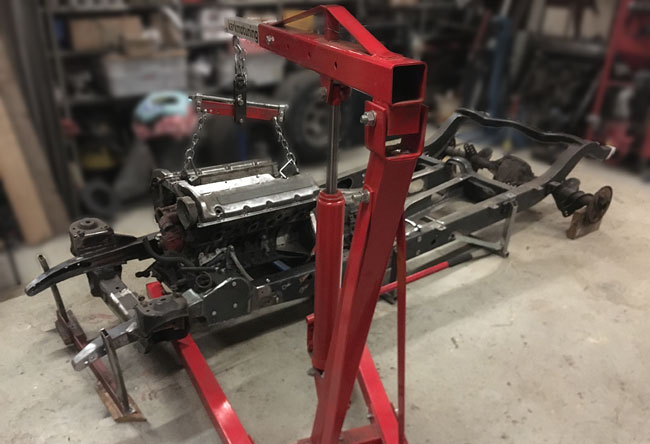
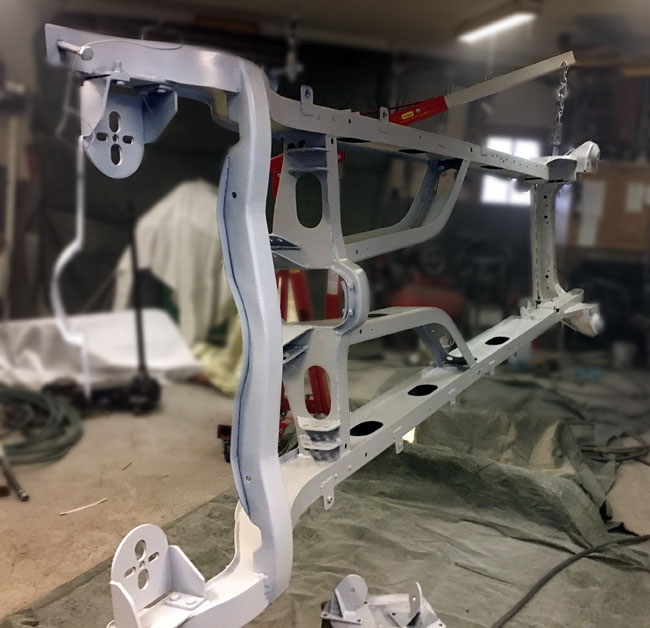
When all items finally were ticked off on the to do-list, the garage was heated up and the frame was hung between a ceiling hook and the engine hoist and sprayed with a good coat of epoxy primer. |
|
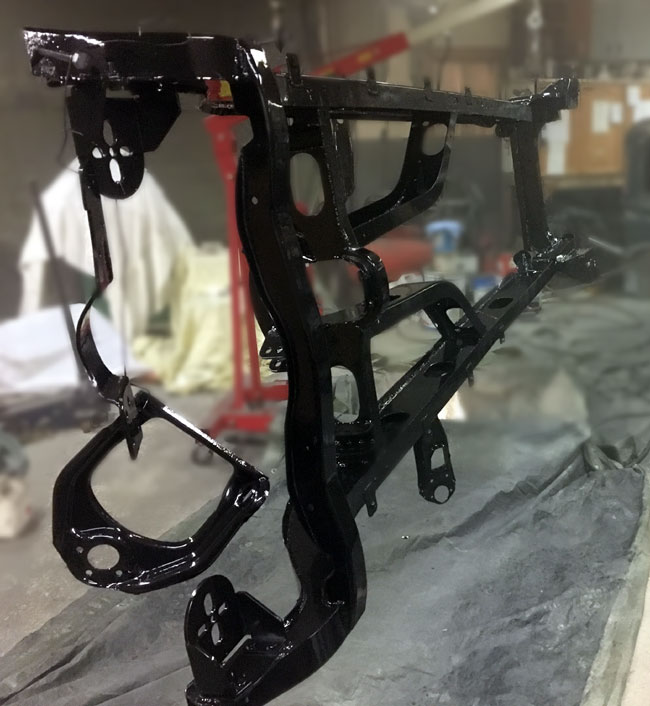
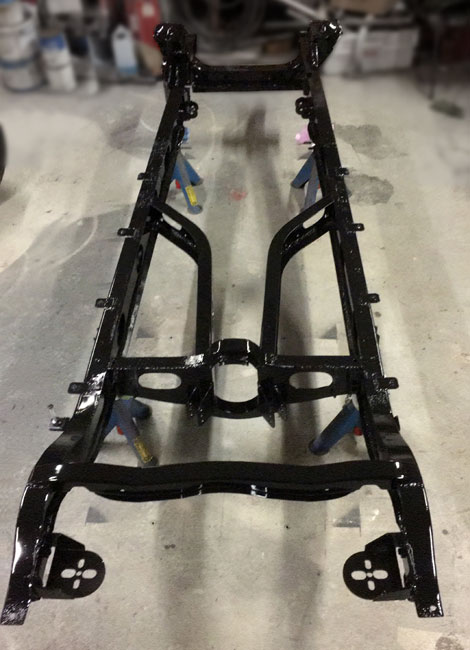
The next day the frame, control arms and strutrods were painted with gloss black industrial 2K paint. |
|
|
|
The frame was hauled back to its place with the engine hoist and placed on jack stands. |
|
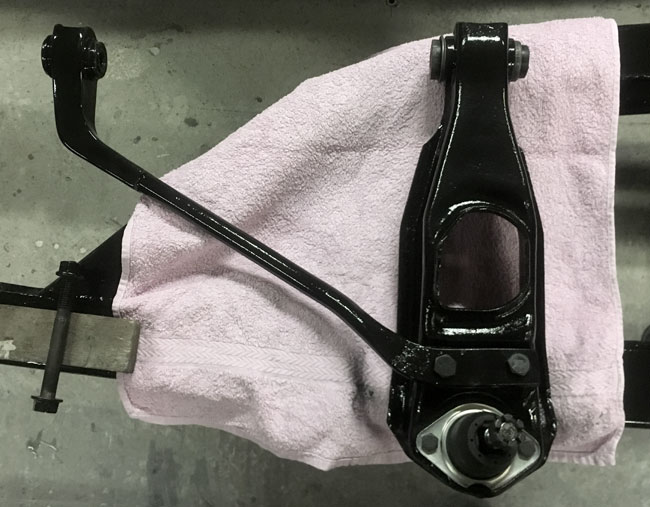
New bushings and balljoints were mounted to the control arms. This is slow work, the old parts that will be used used have to be cleaned, details and parts have to be painted and of course, some parts are still missing and have to be ordered. |
|
|
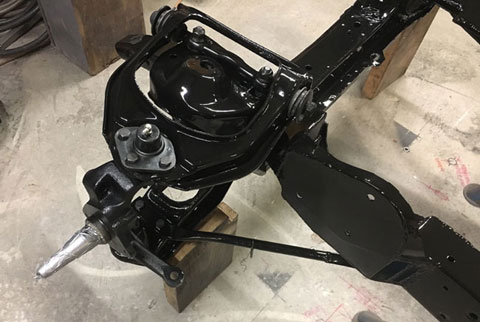
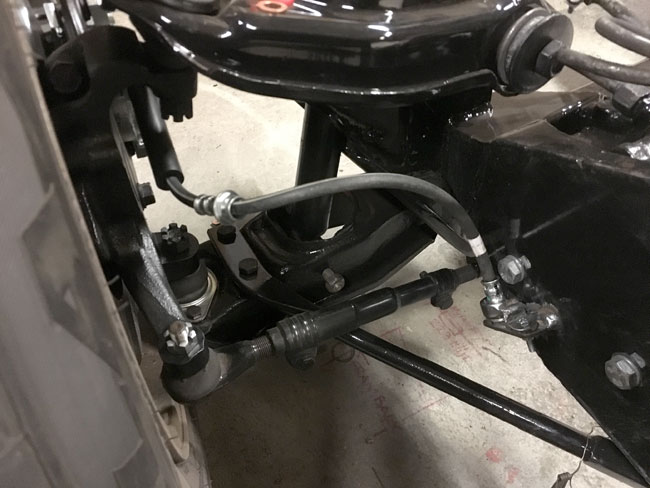
Control arms and strut rods trial mounted, springs and shocks still missing. Brake caliper brackets and GM calipers seem to fint the spindle like they're supposed to. |
|
|
|
The Mercedes-Benz W124 steering box cleaned, painted and mounted in its place. |
|
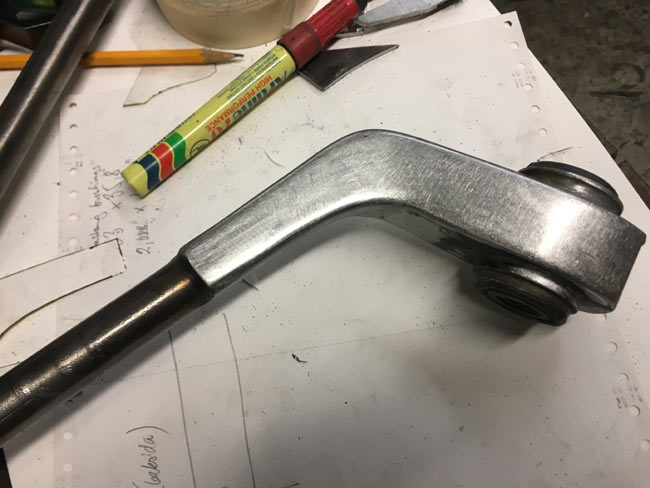
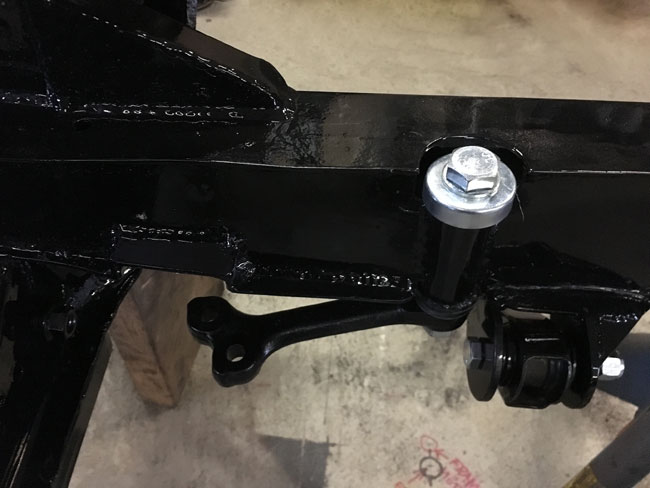
Same with the idler arm, which also got a new repair kit with bushings and that big bolt. Torqued to its specifications, the idler arm is really stiff to operate. No slop here. |
|
|
|
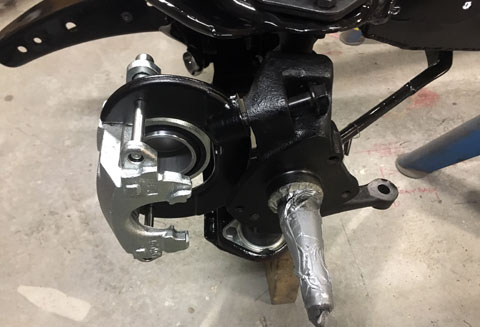
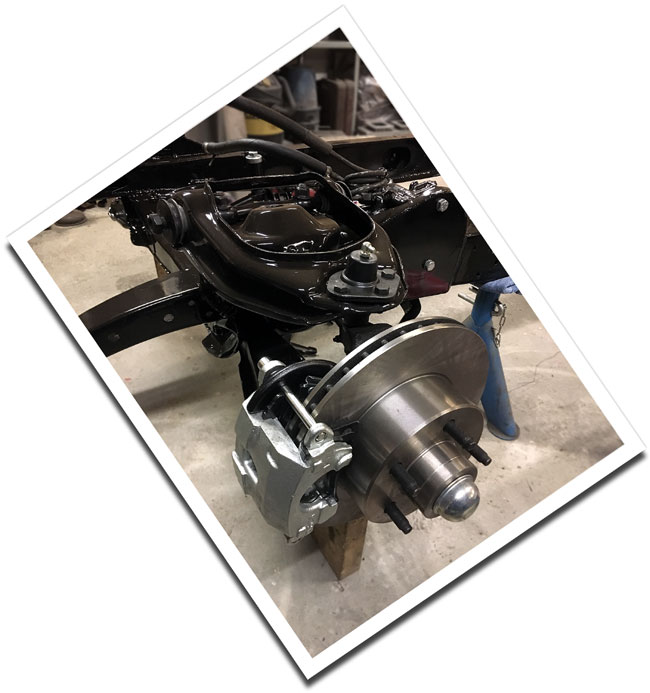
Front brakes going together with Mustang spindles, GM calipers and Granada rotors. It's fun when parts from three different cars just fit. |
|
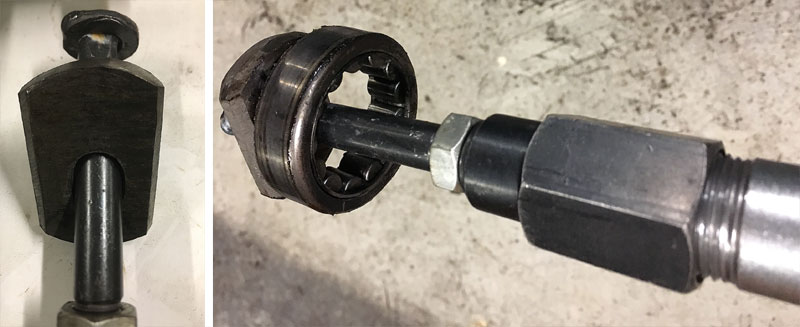
The rear axle was cleaned and painted, and when trying to remove the bearings it seemed impossible with the tools at hand. So a tool was made from 3/8" plate for rear wheel bearing removal . Using a borrowed heavy duty slide hammer it was easy to get the bearings out. |
|
|
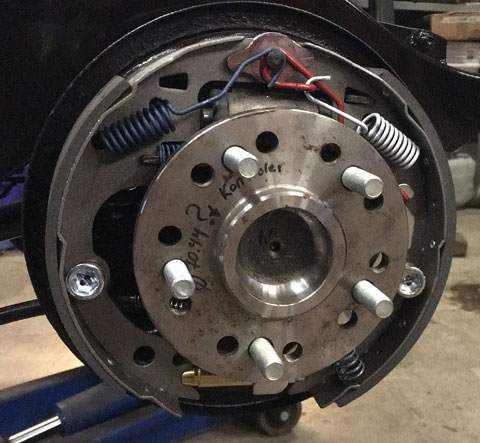
New bearings, seals and drive shafts were mounted, then to get the oil filler plug
out, a bolt had to be weded to it.
The rear brakes were done and adjusted.
|
|
|
|
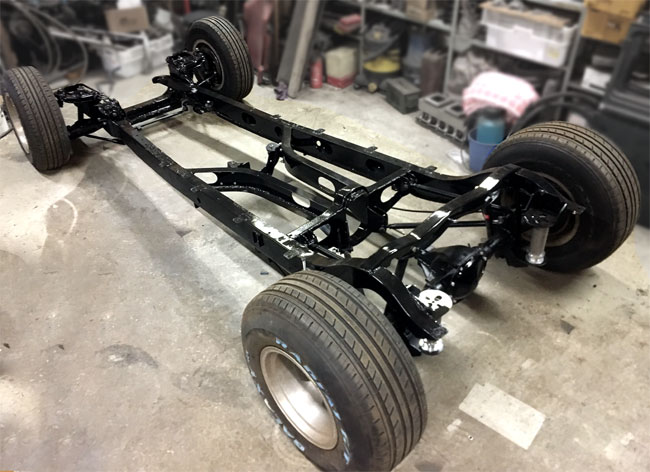
The frame standing on its wheels for the first time. We have a roller! |
|
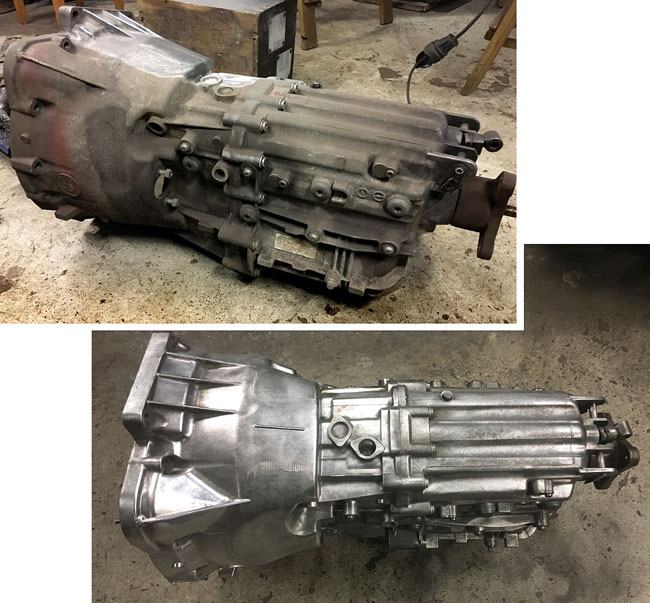
The six speed manual ZF transmission was thoroughly cleaned. |
|
|
|
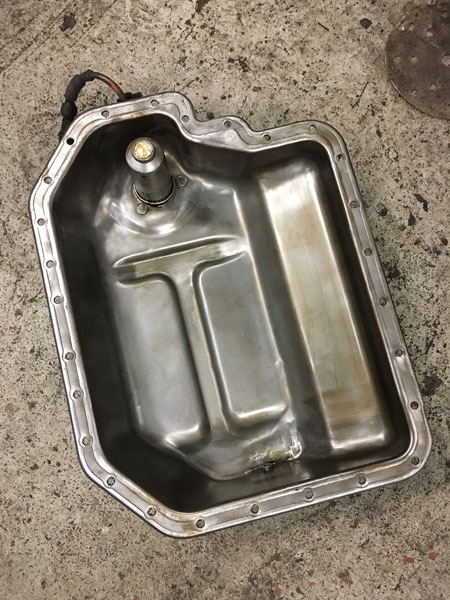
The lower oil sump was removed and cleaned and the oil level sender deleted. |
|
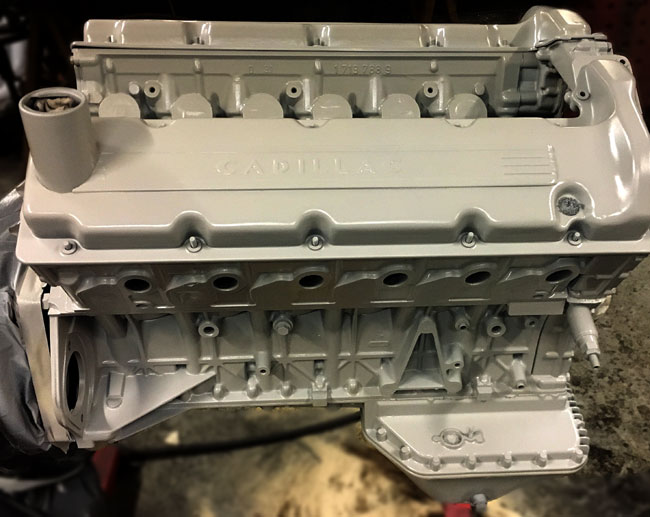
After a couple days of thoroughly cleaning the engine block it was roughed with a plethora of sanding and scratching tools, and finally sprayed with epoxy. |
|
|
|
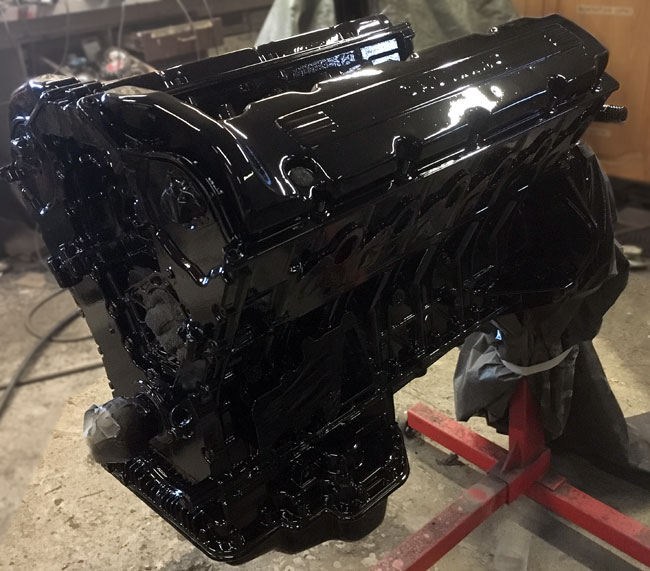
The next day the engine was painted with Glasurit 2K glossy black single stage urethane paint. |
|
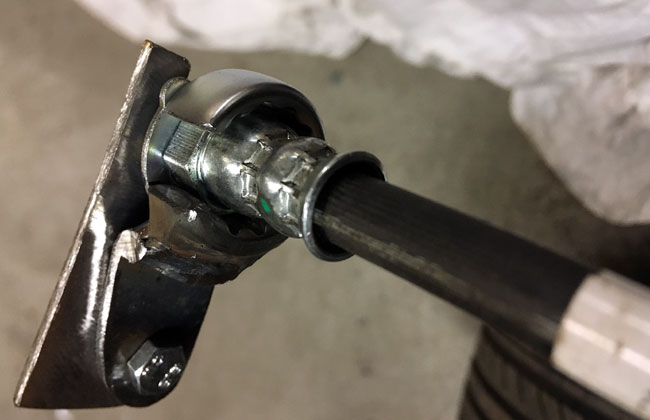
Brakehoses were installed, all three of them. |
|
|
|
... they were secured to their frame brackets with pieces made from 5/8" box wrenches. |
|
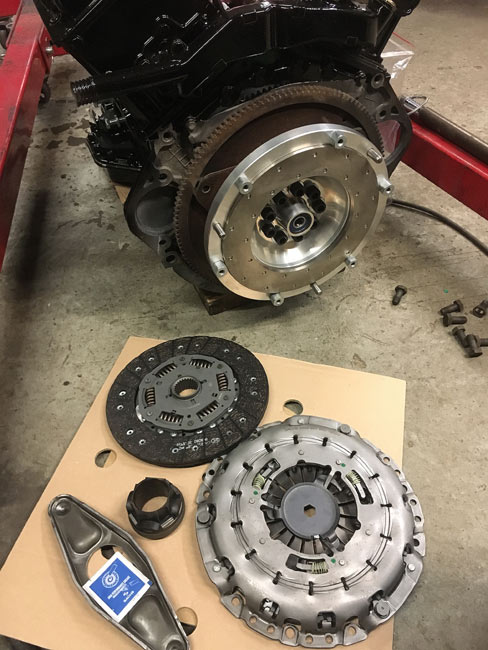
Finally time to get the gorgeous flywheel from PMC (made in Poland) mounted to the crank shaft.
The aluminum flywheel with its cast steel friction surface is plain beautiful. It sandwiches the flex plate to the crank, so the starter has something to engage to.
|
|
|
|
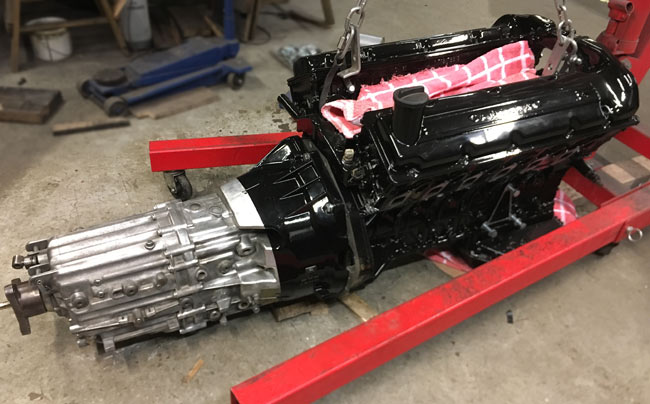
I wasn't easy to get the transmission coaxed all the way into position. Two of us worked quite a bit to get it done. The clutch plate must have been a tad off center. |
|
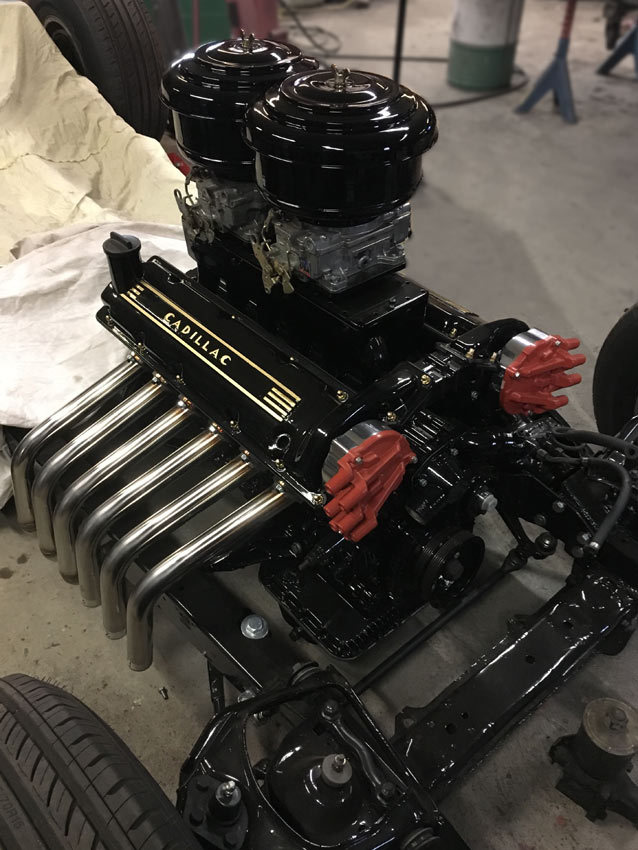
The engine and transmission along with the propshaft are mounted and the pinion angle checked. Lots of visual progress today, a chassis close to ready like this is fun to just look at. |
|
|
|
Gold details painted on the valve covers, brass acorn nuts, gaskets made, distributor housings and brass wing nuts polished, the engine looks more interesting with every added detail.
|