
|
Page 2 The project begins |
|
|
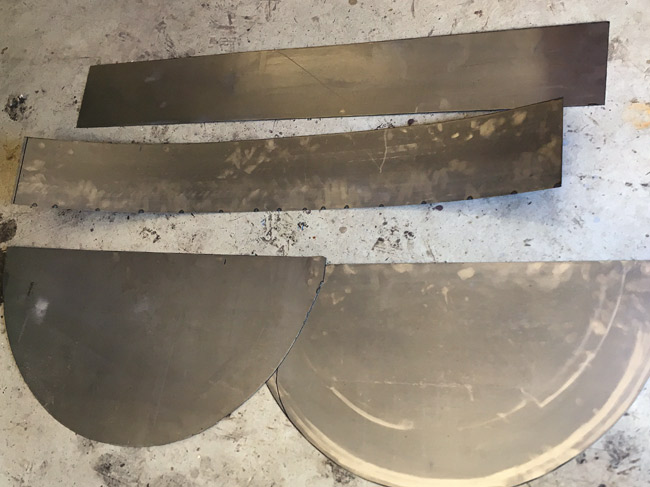
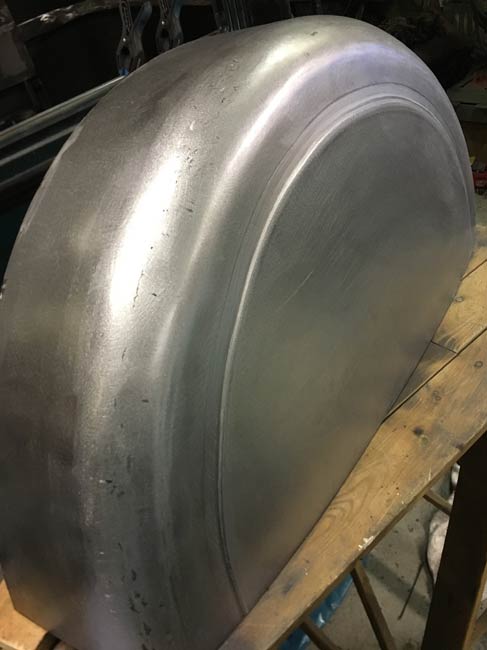
New wheel tubs were made from four pieces cut with the plasma. The edges were shrunk to make for a rounded shape.
|
|
|
|
|
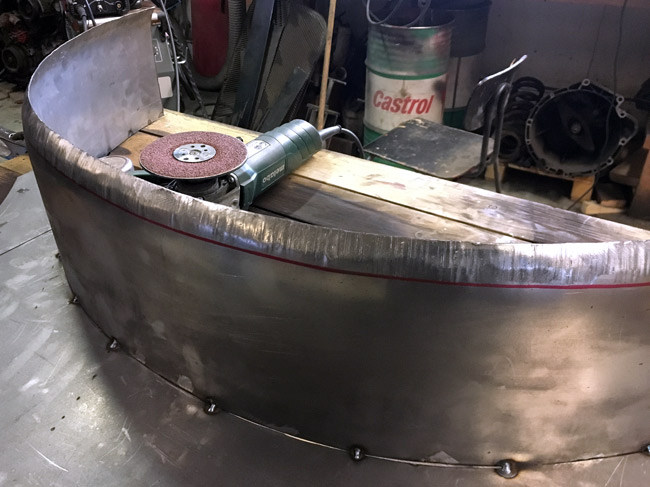
The two parts TIG welded together. |
|
|
|
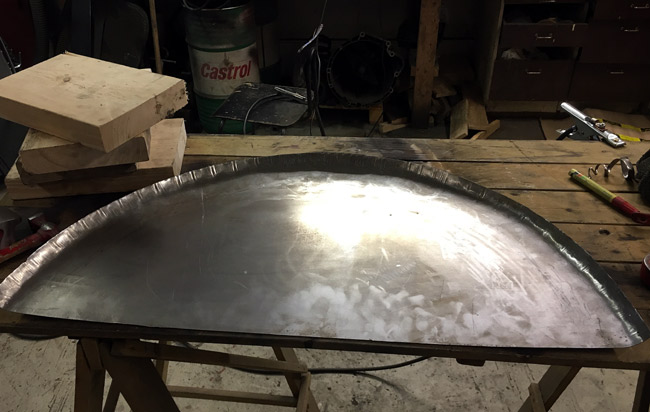
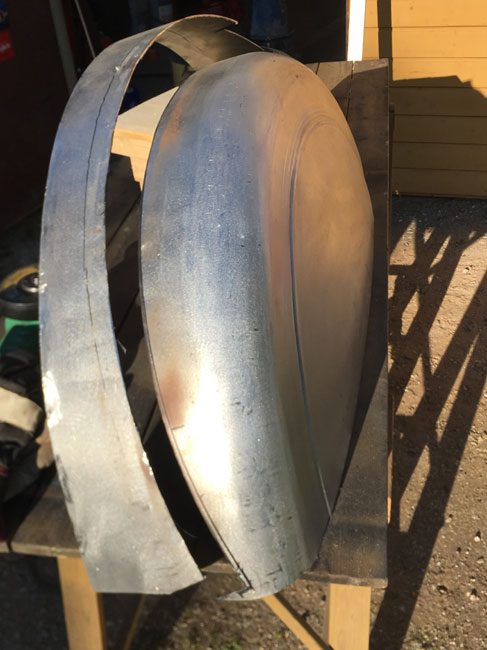
After grinding and work on the English wheel, this is the result. |
|
A surprising amount of sheet metal had to be cut off, leaving a pretty small tub.
|
|
|
|
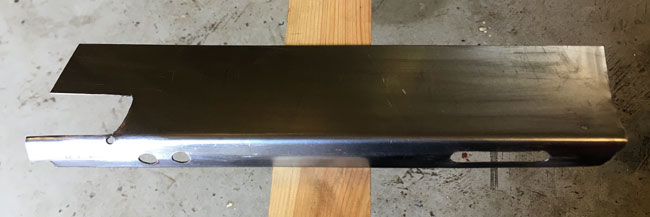
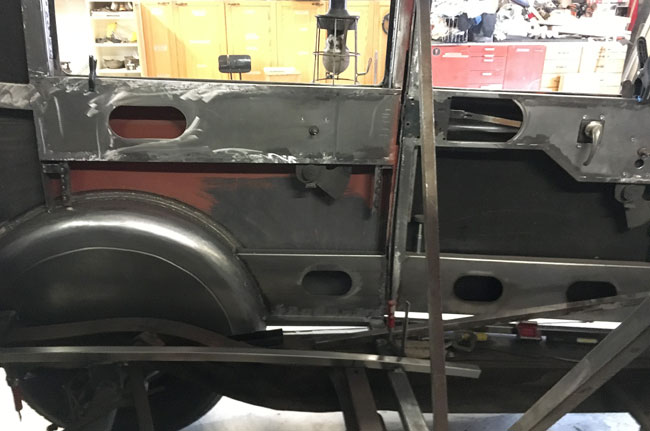
After welding the tub, the rusty bottom lip of the body, between the front of the wheel opening and the B-pillar, was repaired. This piece was made as the very bottom part of the body and part of the inner structure in one piece. |
|
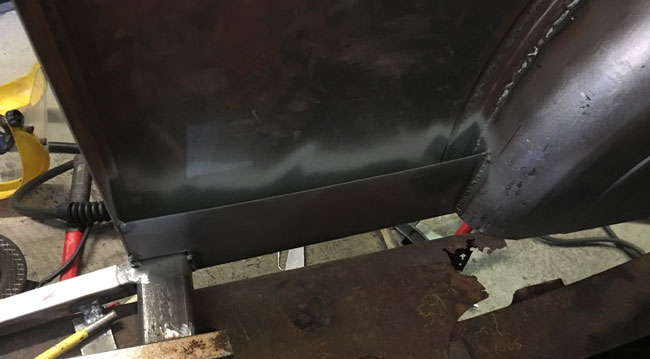
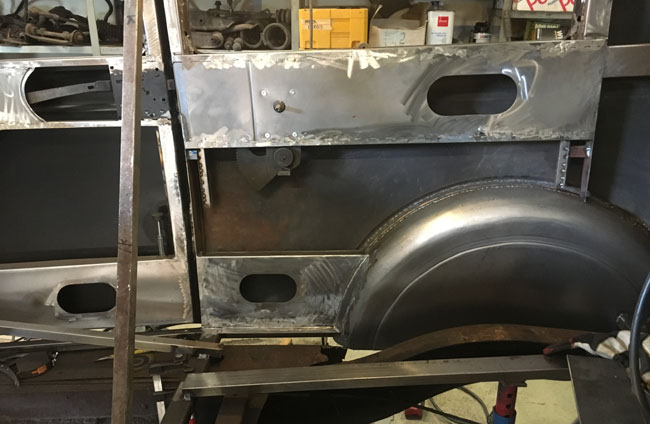
Here the bottom piece is welded in, it's also gotten a coat of zinc spray. The part in the picture below will attach to this piece to form a strong rigid structure. |
|
|
|
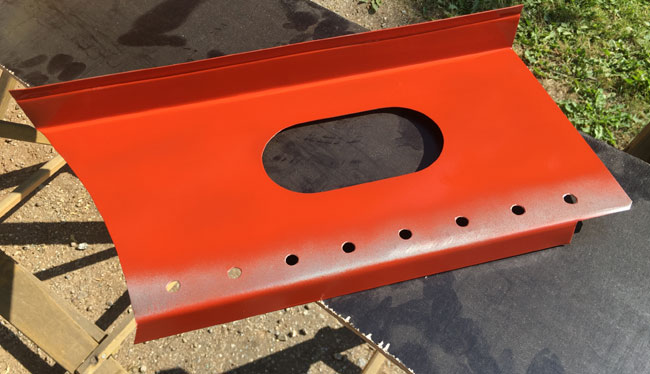
5/16" (8mm) holes have been drilled for rosette welds, and some primer sprayed on to provide a bit of rust protection. These bigger holes makes for strong rosette- or plug welds, on a whole other level than if welded through 3/16" or 1/4" holes. |
|
The new part ties in nicely with the door structure design. The floor will be welded to the lip at the bottom. |
|
|
|
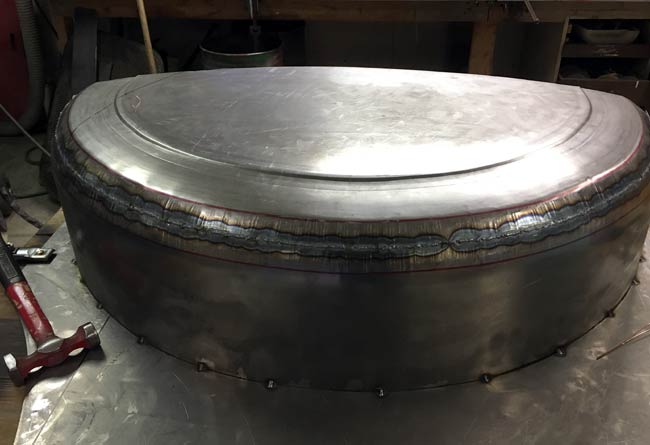
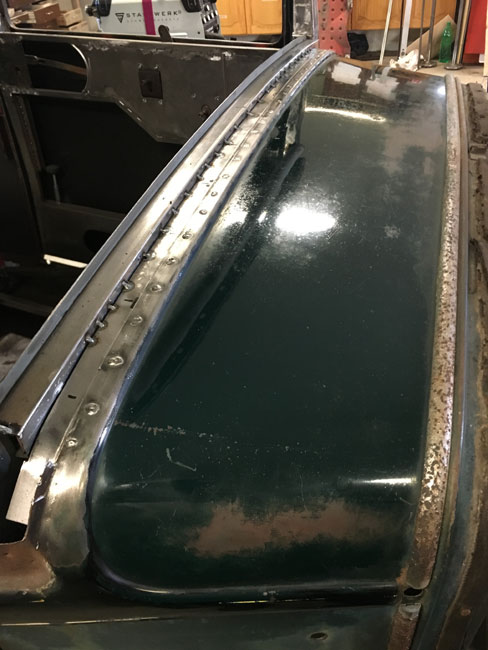
As the tub was widened inwards, the profile on the lip of the wheel arch had to be extended around it.
|
|
The end result after welding and grinding. |
|
|
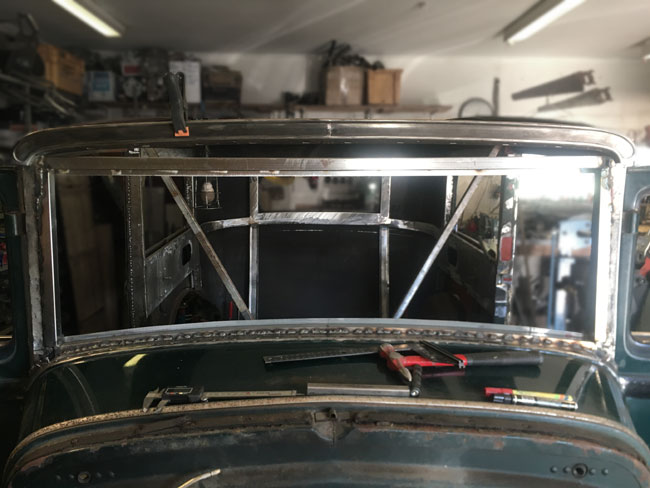
After the body had been tacked back together, a new windshield frame was made.
|
|
|
The whole windshield frame, version 2, was welded to the A-pillars and the cowl.
|
|
To get the windshield frame square and flat, two pieces of sheetmetal were cut out to act as sight rulers. This to ensure that the glass, once made, will fit. |
|
|
|
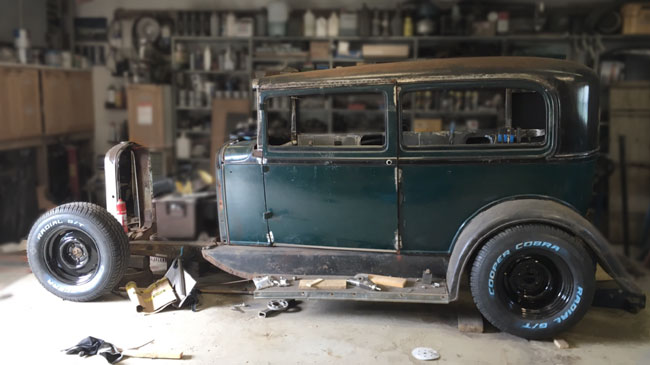
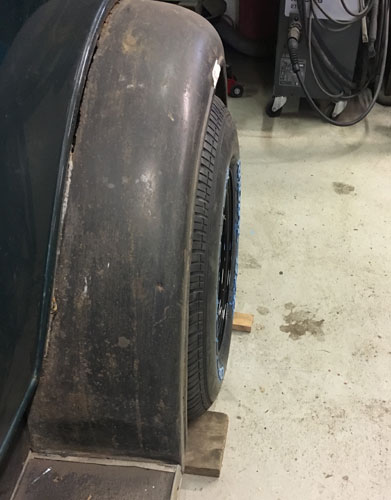
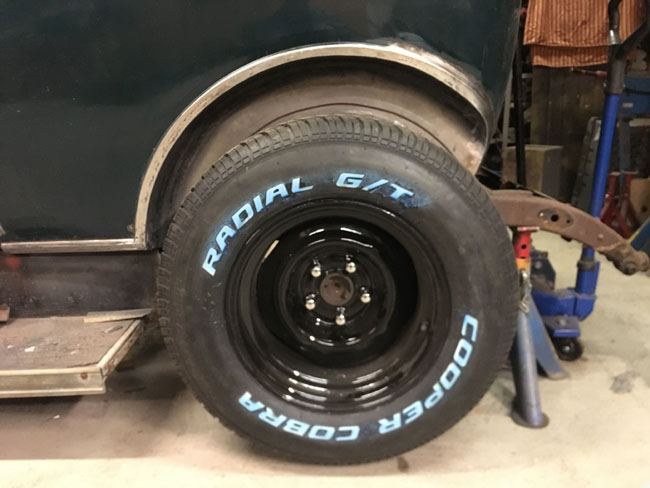
At this time wheels and tires were acquired to determine how the rear fenders are going to be made, and to decide in what position the rear axle will be mounted.
|
|
With 10" wide rims with zero offset and 275/60-15" tires, the rear fenders only need to be widened about 1-1/4" (about 30 mm). |
|
|
|
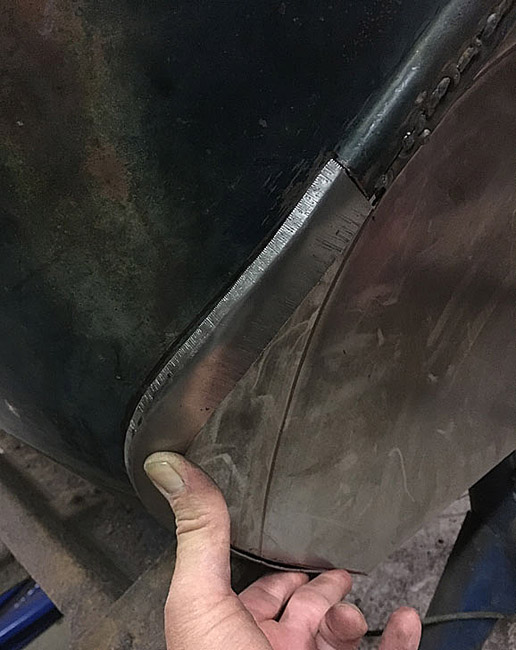
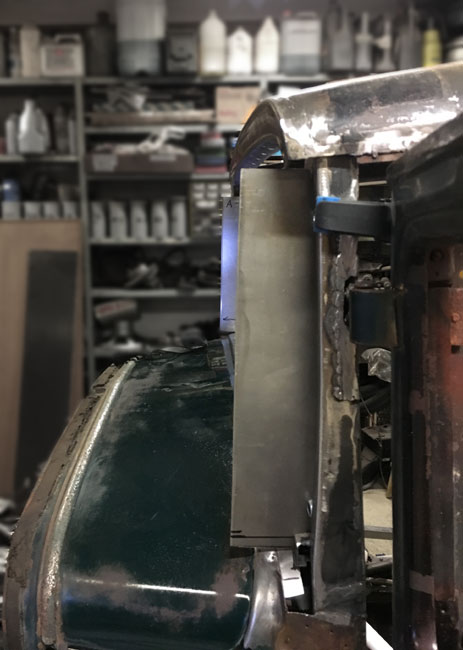
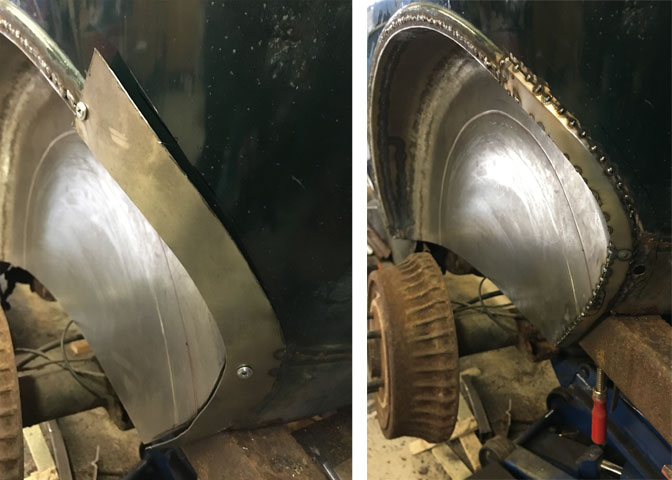
The wheel position in the fender opening was determined and the rear axle was tack welded to the frame. Now the rear fender could be removed. A new repair piece for the fender lip was made and welded in. Seen here tried into position prior to cutting and welding.
|

|
Again, as the fender tubs were widened inwards, the fender lip had to be extended. This time a sheet metal screw technique was tried. To be able to put the piece of sheetmetal back in the same position every time with the sheetmetal screws proved to be very helpful , so since clecos would do this more effectively, they are added to the wishlist now.
The new fender lip tacked in the second pic.
|
|
|
|
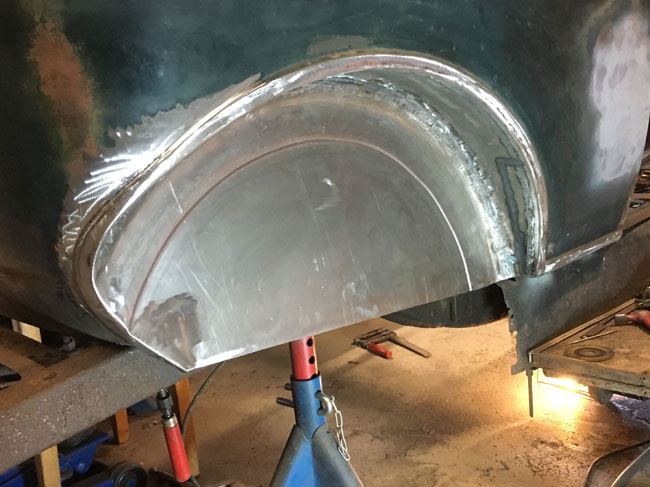
All welded and ground, the wheelwell looks much prettier now. |
|
Of course, everything had to be done on the driver's side, the same as on the right hand side. |
|
NEXT: Door openings and more on the body Back to Karkmotuning