|

Custom tail lights.
|
|
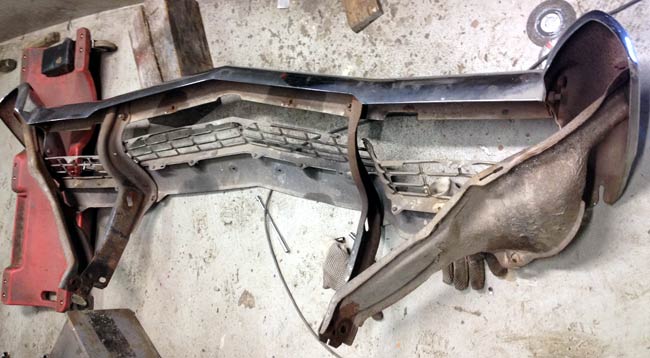
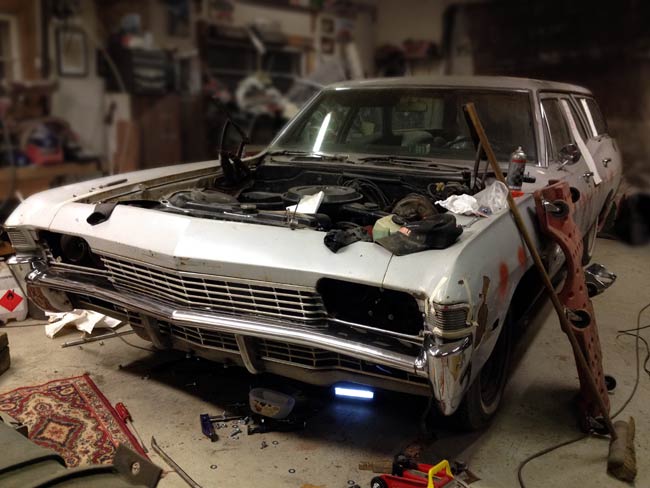
The front bumper was skewed, and the whole front of the car looked wonky. The bottom part of the grille was about 3/4" off to one side. Some tweaking later the lower part of the grille was centered nicely when the bumper was tried on the car again. |
|
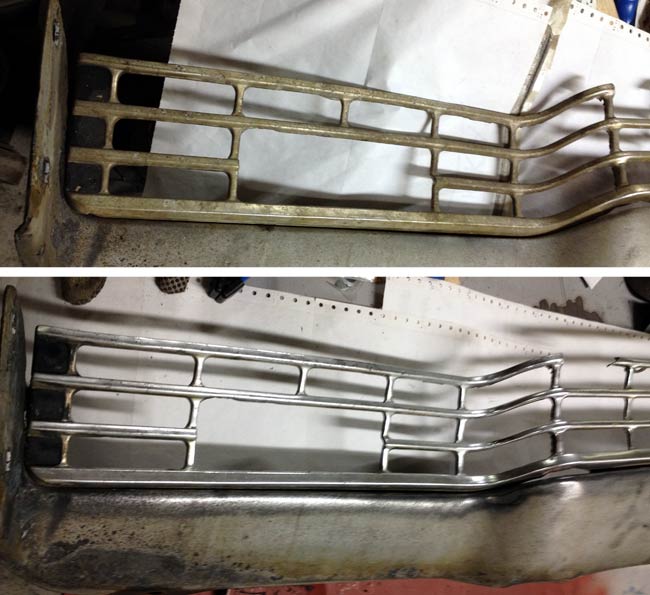
Plans called for painted bumpers and grille, but as the rear bumper came out so nice, a piece of the grille was polished too, and it also started looking much better. |
|
|
|
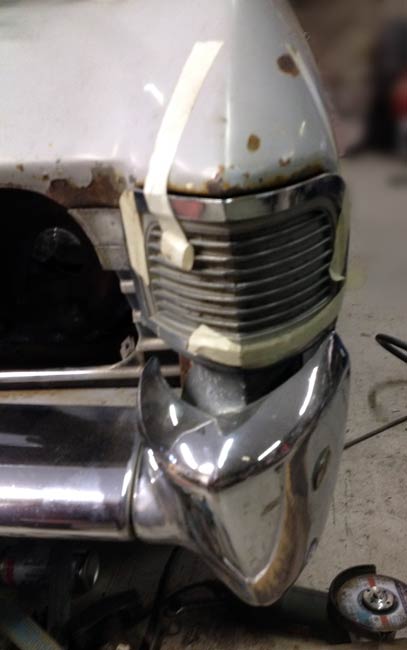
At this point the grille looked okay, but the bumper looked even worse than before. It didn't sit good before either, but now it's definitely off. |
|
The bumper sits nice and centered now, and the now slightly slimmer end parts make it look nicely tucked in. |
|
|
|
Time to get the paint off the whole car. Originally only the flaking top layer of paint was going to come off, but thinking ahead a bit, it seemed silly to save a couple of evenings of work, risking problems down the road on a whole winter's project. |
|
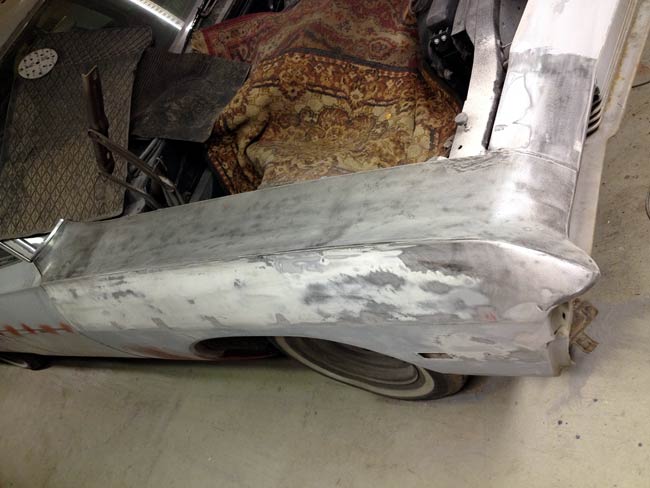
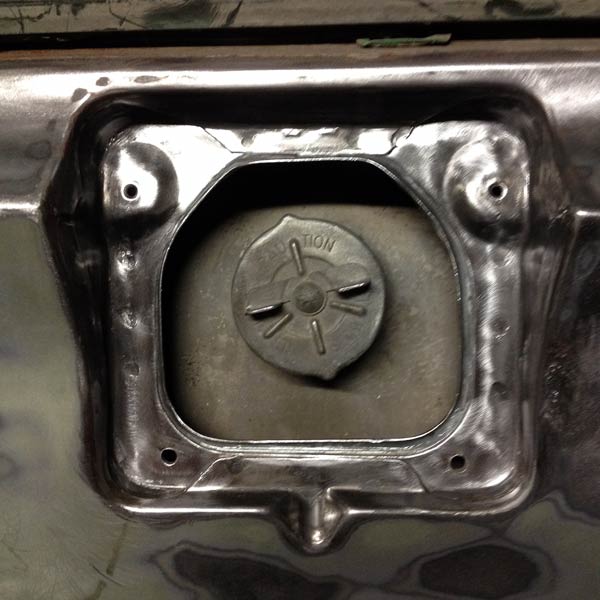
Sometimes getting all the paint off of details can be great fun. This fuel door opening in the rear fender looked really sad, and after a little bit of work using rotating brushes it looks so much better. |
|
|
|
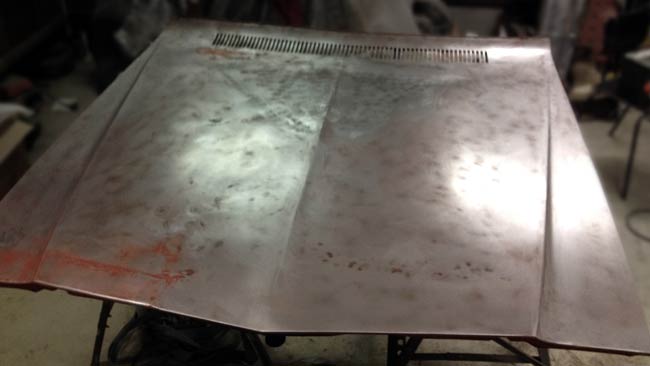
The hood looks almost decent, when sanded down with 180 grit to the same dull shininess as the rest of the body. Some more shrinking had to be done to get rid of all the oil canning. |
|
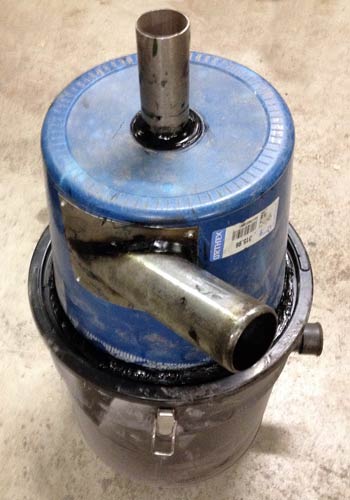
The shop vacuum doesn't like paint and filler dust. To not have to clean out the vacuum filter every five minutes with compressed air, a cheap soot and ash vac was used without filter, the outlet connected to a pipe that goes through the garage wall. A pretty nice idea as such, but the motor quit after two days of sanding, as all the dust apparantly went through the motor for cooling. The little vacuum motor was removed, and the vacuum bucket converted to a cyklone, and then connected to the regular shop vac. The filter now fills up much less frequently, and has been cleaned only once during the whole sanding process. Simple and effective, and very cheap. |
|
|
|
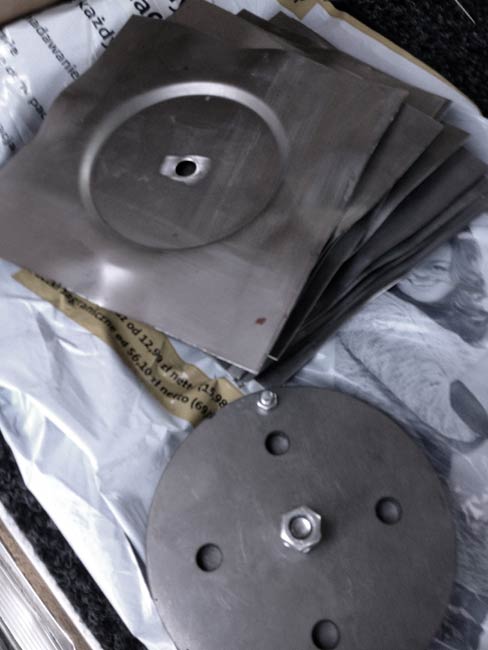
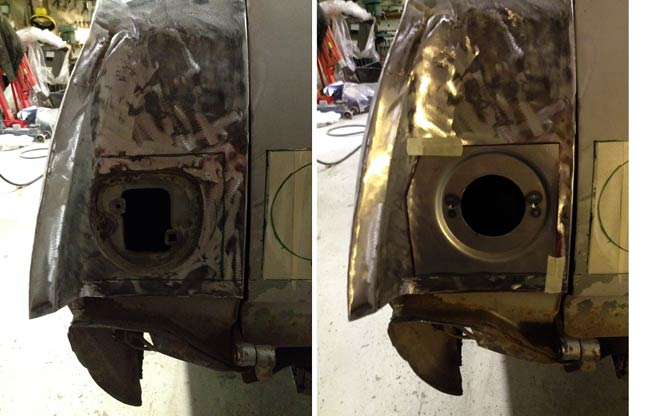
A friend made a press tool for pressing these pieces for making the new tail lights recessed, like the original lights are. |
|
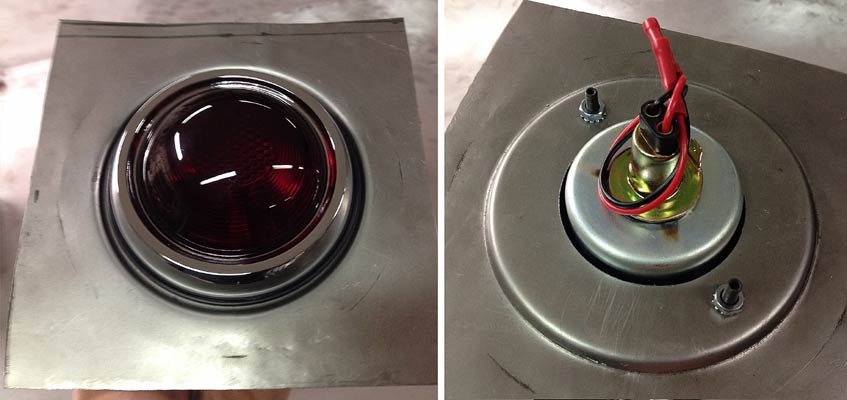
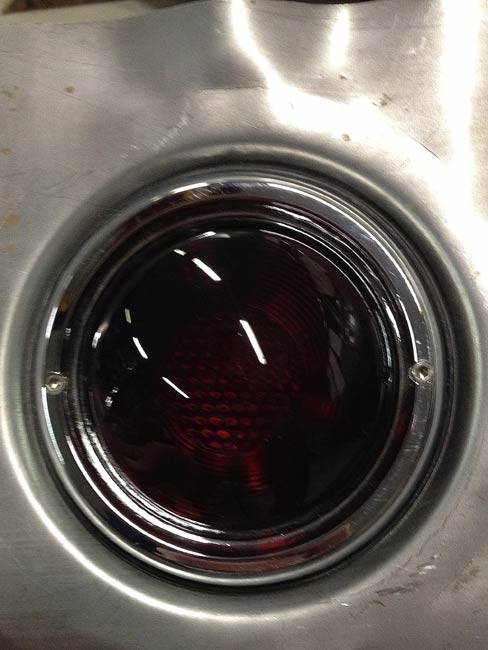
This is what the tail ligths look like |
|
|
|
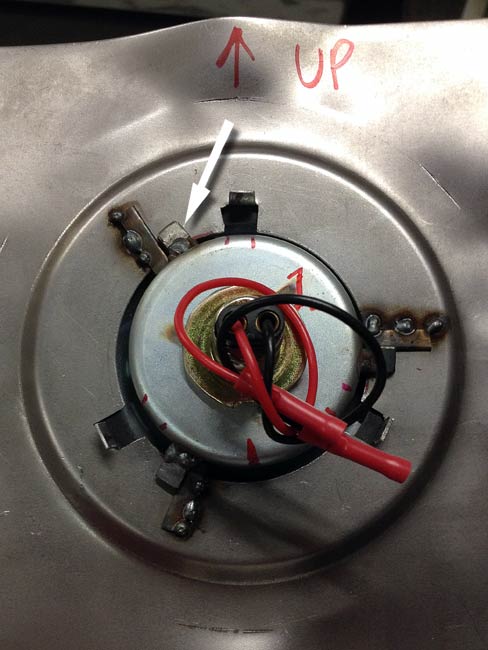
As there's no way of getting to the outer most tail lights from the inside to change a bulb or other service jobs, a twist-on design was tried. It kinda worked, but it seemed very hard to get the tail light out, and it still sat a bit loose when in its mounted position, so the idea was scrapped. |
|
Instead through holes were drilled in the chromed bezel, and small counter sunk allen head screws with heads ground down to a small diameter were tried, and this gives good and easy access to service the lights. Looks okay too.
|
|
|
|
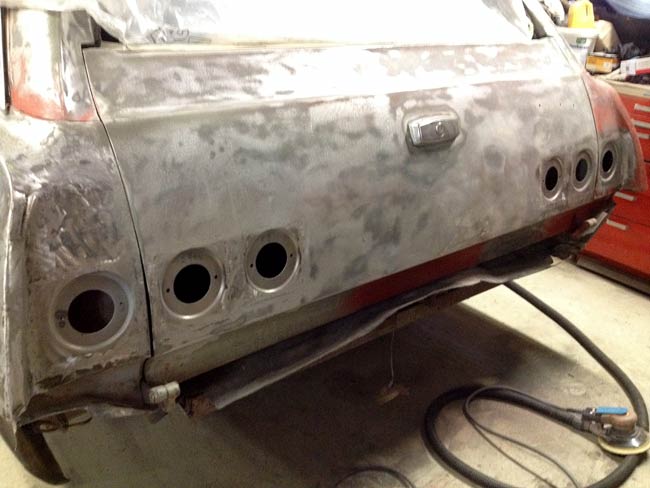
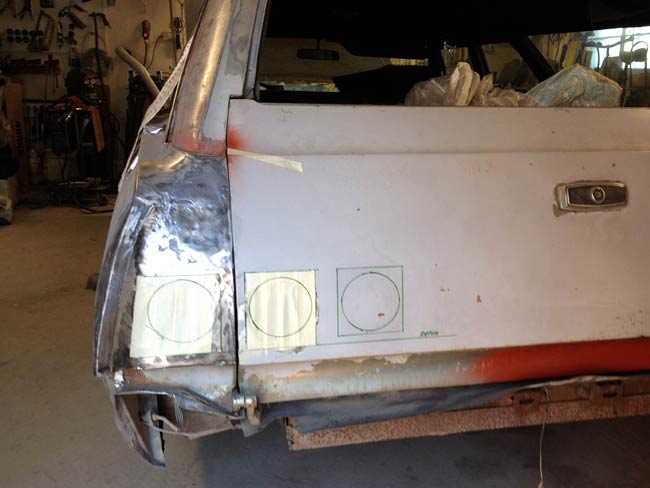
The new tail light recesses will have to be carefully planned, cut and welded in to get the tail lights evenly spaced, and well lined up. |
|
Here the cut lines have been planned in the before pic, and the new piece spot welded in in the after pic. Just five more to go. |
|
|
|
With all the paint ground off, the tail light recesses blend in a bit, and will hopefully make for a look that can be mistaken to be factory. |