|

Rear repair and fender work.
|
|
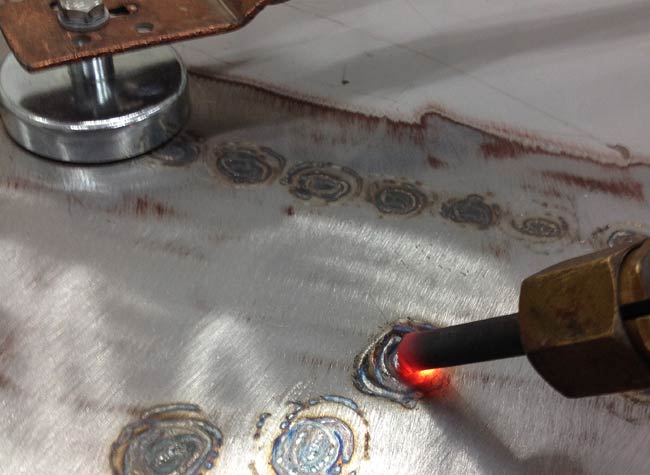
This wagon has been in Finland for some four years, and from the relatively fresh
look of the paint inside the hood, the hood was sand blasted from the inside by the previous
owner. If you ever thought of sand blasting a car: DON'T! |
|
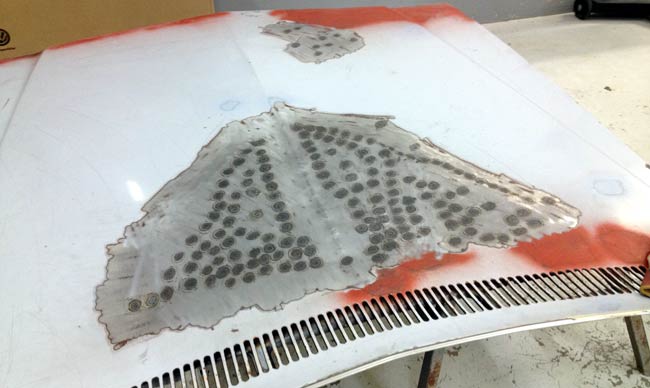
After all this work, the hood seemed about as crooked as it was to begin with, and it looked even worse. Luckily my pal came to the rescue, and did his magic with hammers and dollies, and the result is an improvement for sure, but a lot of filler will be needed to make the hood look like a hood again. The hood is put aside for now. This kind of work really makes it feel the project is at a standstill. |
|
|
|
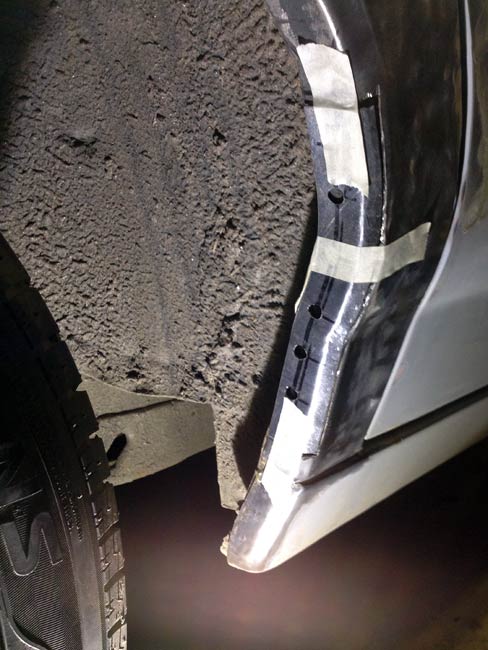
As this car is so badly rusted, you'd think the wheel arches would be really bad,
but surprisingly enough, they're not. Only one spot was rusted, and it was here,
to the front of the right hand side rear wheelwell. |
|
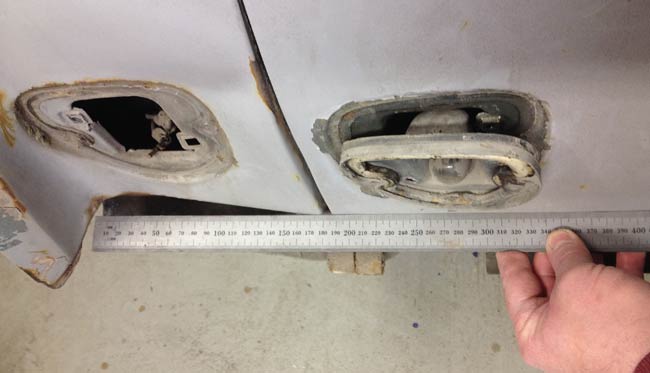
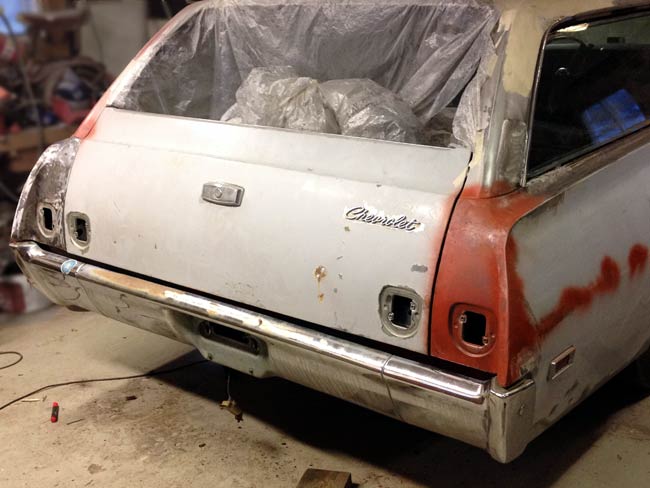
The wagon has been hit in the rear left hand
corner. Should be a pretty straightforward repair.
The straightedge shows how the rear quarter should follow the same line as the tail gate, so it's almost in inch too far in.
A slide hammer with a claw that can grip thin sheet metal was borrowed. Easiest is to just
spot weld in a piece of scrap sheet metal, and start hammering (pulling) away. |
|
|
|
Oh shoot! |
|
The lead was heated and melted until it ran off. A few releif cuts where the sheet metal had wrinkled were cut, and pulling was done from different pieces of sheetmetal that were spot welded to the quarter. Looks much better already, but the outer corner is still a bit too far to the right, and nothing happens when pulling to the side. |
|
|
|
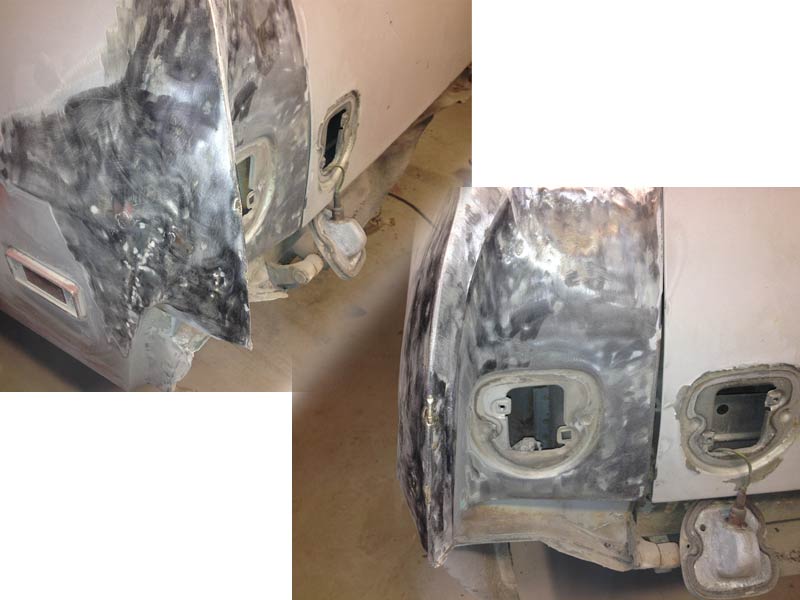
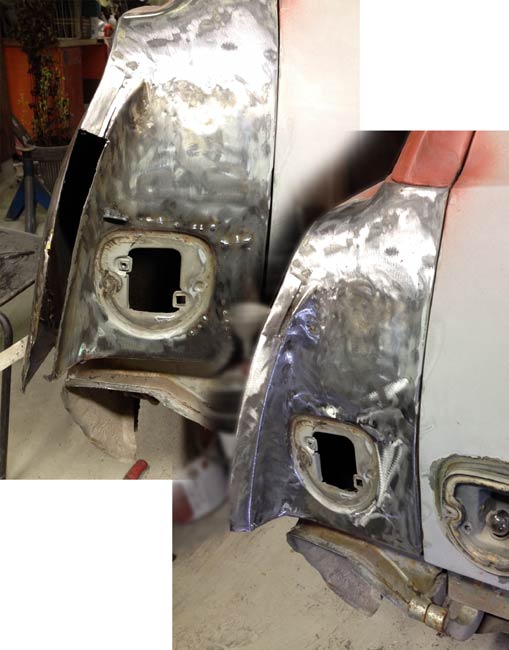
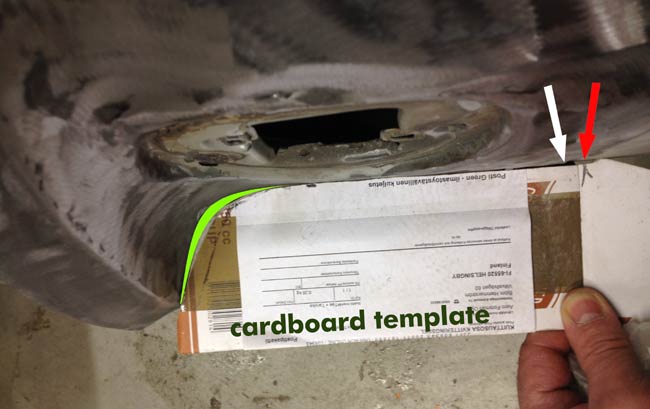
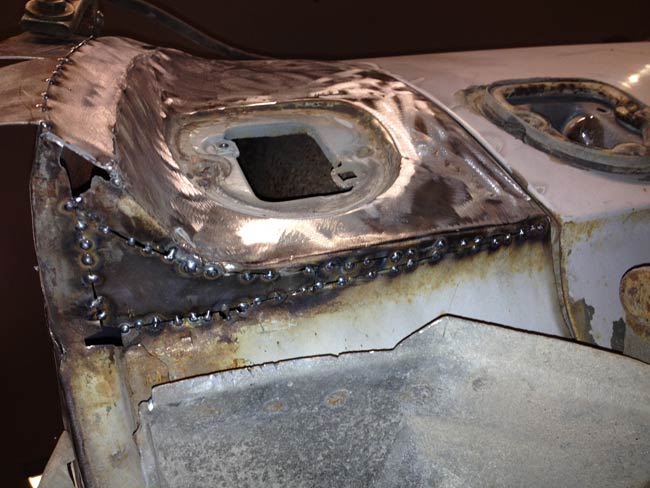
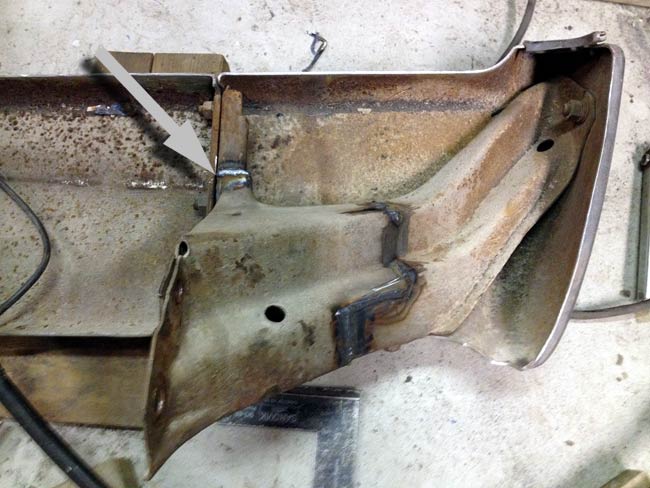
First some sheet metal pieces were welded to the outermost corner of the quarter, and pulled to the side. Not a success, since no matter how hard I hammered away with the heavy slide hammer, nothing gave. In the end I gave up, and cut up the whole thing as the pic on the left shows. Then a template was made, using the right hand side as a model, and a new strip was cut and welded it. After a few spot welds the fit was checked, and as all looked good, the rest was welded and ground. Now it looked good, and I called it a night. |
|
The next day, when showing photos of the repair to a buddy, I noticed that it really didn't
look that good, so when I got home I checked with the template I had made before. |
|
|
|
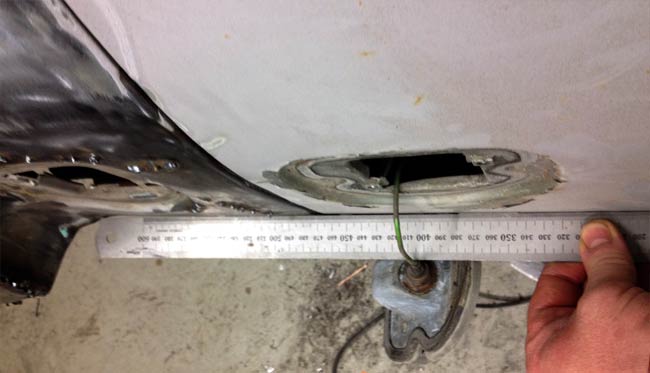
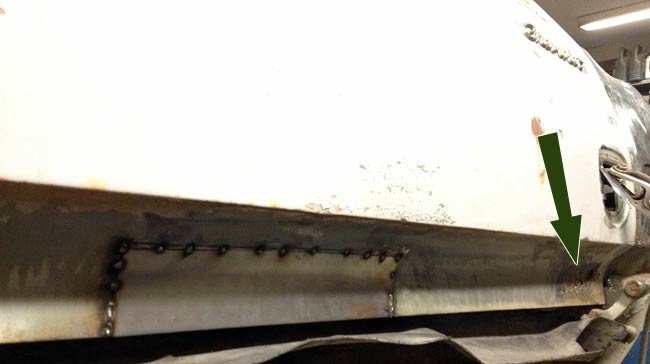
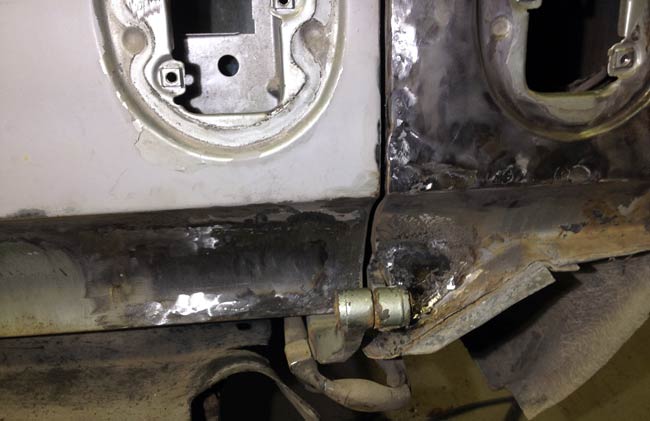
The rear corner seen from below. Also visible in this shot is the pieces of sheet metal spotwelded to the corner, that were pulled with the slide hammer. The rear corner is welded now,and just awaits grinding. As usual, this dented corner took a lot more work than expected. About four times. I should remember that. Four times. |
|
When checking if the rear is done, two rust
holes were dicovered in the bottom of the tail gate. |
|
|
|
The most problematic hole was given a try. "Problematic" as the tail gate hinge was in the way of any decent size grinder. First as much as possible was cut with a small angle grinder with a small cutting wheel, and then the rest was cut with a rotating file. It was slow work, but worked okay. A patch piece was made, again hammered to a nice shape, and welded in. Grinding the welds was as hard as cutting the hole, but the same grinder with another file made grinding feasible. It was then sanded with a dremel and a tiny flap wheel of sorts. I always looked at Dremels as toys, but this time it came in real handy |
|
After the tail gate had been welded and ground, it was time to turn to the
bumper. It too was a bit deformed, the drivers side outer part was bent
forward. The inner structure is pretty sturdy, so it was cut in order to get the chrome bumper straightened. |
|
|
|
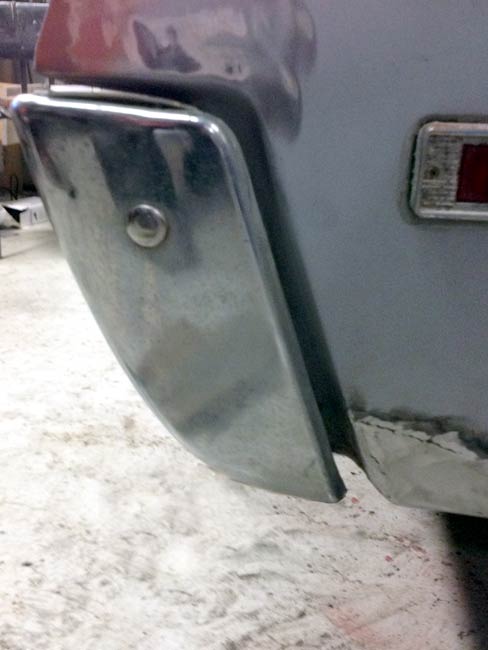
With the mount welded, the bumper fit much better. |
|
The bumper ends also fit very nicely to the indentations in the rear quarters, so this repair can be considered a success so far. |
|
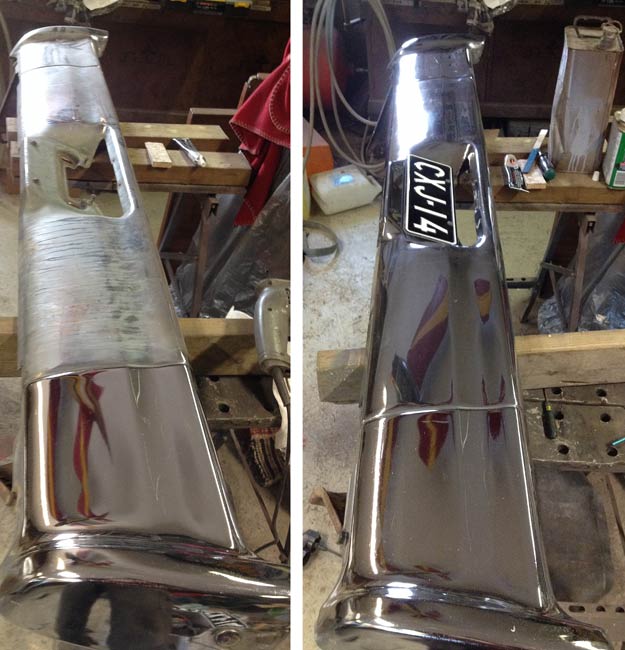
|
|
The rear bumper cleaned up pretty well, the before and after pic shows a quite dramatic change. I was going to paint the bumpers as they looked so bad, but luckily enough, I decided to try to polish them. |