First page
Page 2
Page 3
Page 4
Page 5
Page 6
Back to Karkmotuning main page
|
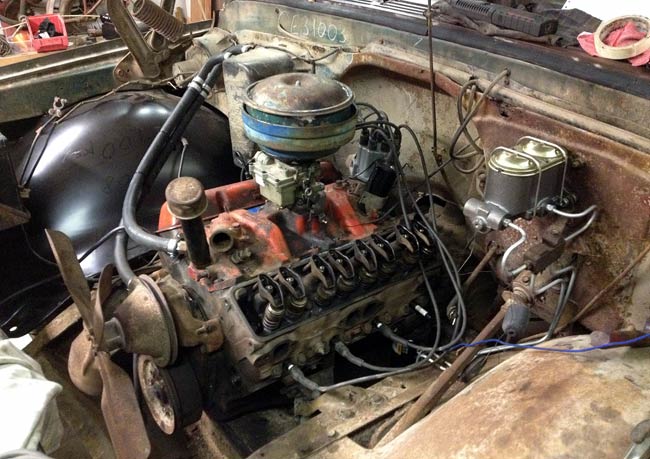
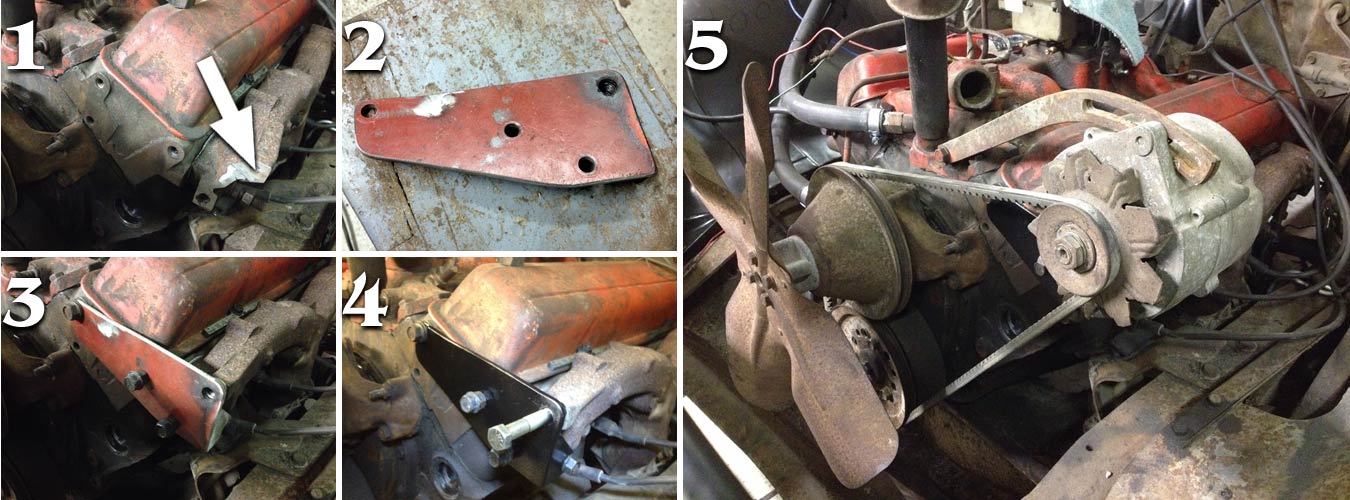
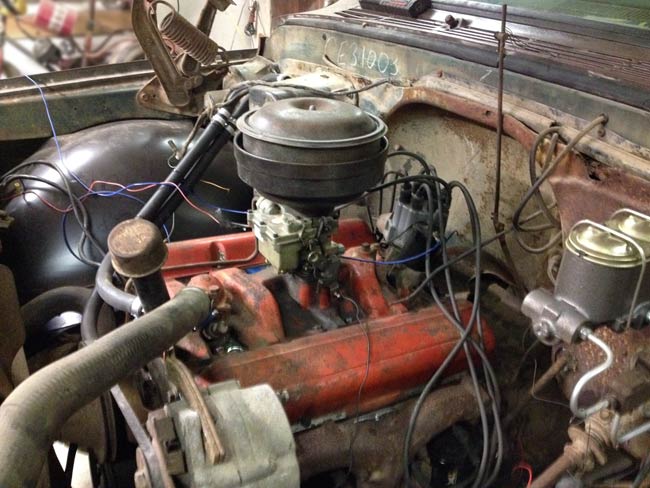
Time for the engine to go back in. This time the clutch and pilot bearing slipped onto the transmission axle much easier, as we took our time to thoroughly align things. The clutch was adjusted, and tested for function. Apparently a V-8 and a heavy duty transmission requires more care to align than a light fourbanger with a like tranny. You learn new things every day in the shop. When the engine was bolted to the transmission, the starter was mounted, as was the distributor. With the left hand side valve cover off, the TDC of the first cylinder was found, and turned to the correct amount of static pre-ignition. The distributor was turned such that the points just open, so now we're convinced that we'll get some reaction when the motor is cranked with some gas poured into the carb.
Here's a good source for torque values etc for the small block Chevy:
http://boxwrench.net/specs/chevy_sb.htm
|
|
|
|
It finally runs! After mounting the radiator and hoses water and anti freeze was poured into the radiator. A few squirts of gasoline into the carb, and suddenly it ran off the fuel in the fuel bowl of the carburetor. |
|
|
|
The air cleaner is reworked for modern paper air filters. The welding and grinding caused it to look unsettlingly rebuilt, but a few squirts of black, beige, two browns and another black got the patina started. Dousing it with sand and dirt and scuffing it with a rag while the paint still wasn't completely dry, made it look suitably old and grimy. |
|
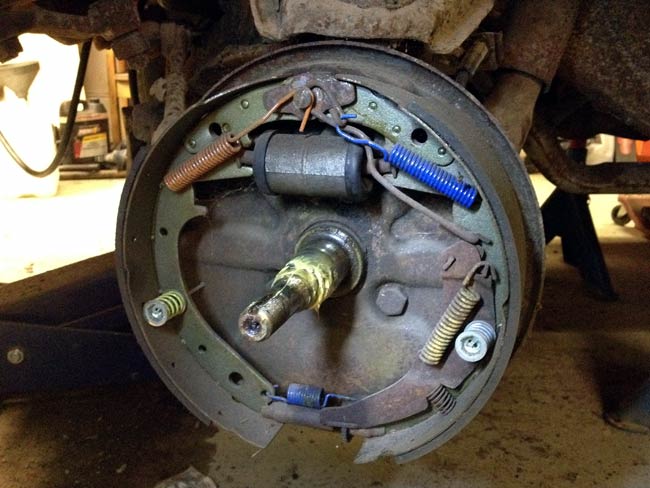
When the front brakes were opened for a look, it became evident that someone had been working on this truck pretty recently. These brakes are as good as new. The bleed nipples came loose easily, the brake cylinders look new, as do the springs and brake linings. The drums also are in mint condition. As we made all new brake lines and hoses earlier, the rest of the brake job consisted of mounting the hoses to the wheel cylinders and brake lines. |
|
|
|
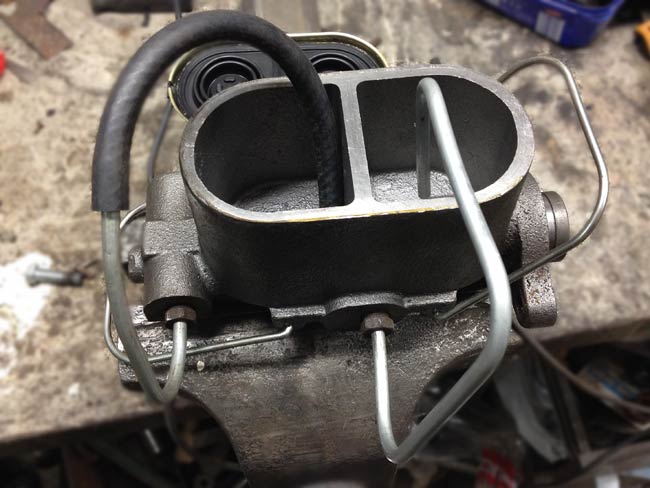
The new main brake cylinder will be bench bled before being mounted to the firewall. We learned the hard way, that bench bleeding a new main brake cylinder can be worth the while. |
|
The main brake cylinder was bench bled and mounted to the firewall again. Time to bleed the rest of the brake system. Slowly the front brake lines filled with fluid, evident by the fluid trickling out of the right hand front brake bleed nipple. Immediately a connection at the T-joint to the front brakes started leaking. No tightening of the nipples worked, so a new piece of tubing was made. With a new tube it still leaked! |
|

|
|
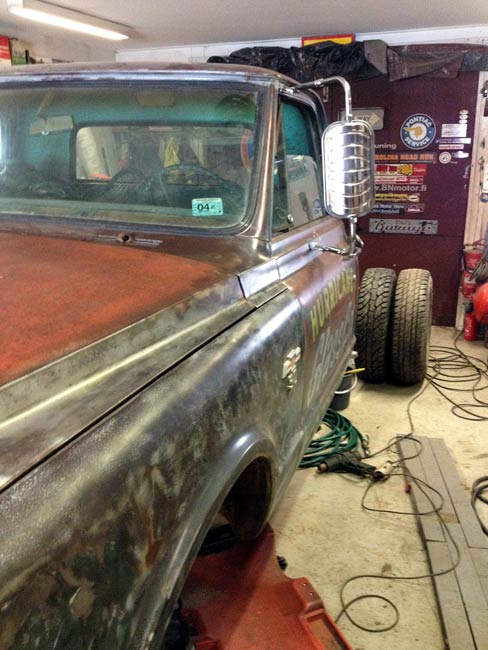
New mirrors were mounted to the doors. These cheapo mirrors were ordered from Amazon to a cost of $19 each. Now the right hand side door latch works as it should too, it only needed a little tweak and some lubrication. |
|
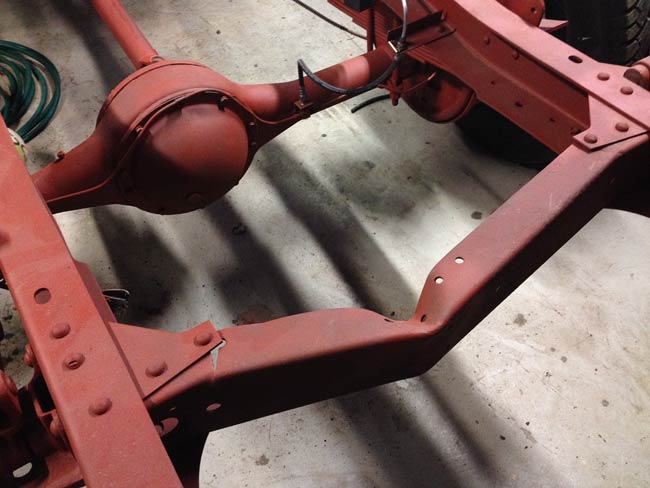
Sometime in the past, someone has either tried to haul up the truck back up from a ditch, or tried to pull out a tree stump with it or something. Either way, the rear crossmember has had a real hard tug, which has all but ripped it out. |
|
|
|
Some cutting, hammering, pulling and bashing later, the crossmember looks serviceable again, if not beautiful. |

|
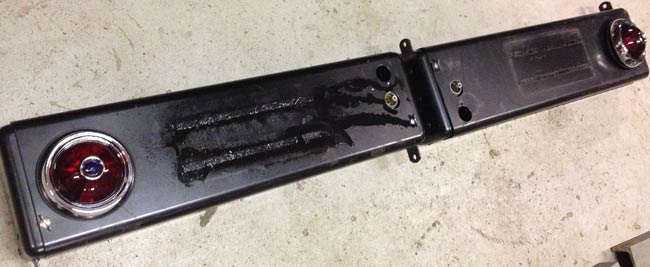
1950 Pontiac rear lights with blue dots will be used for rear lights, and are shown here, mounted to what will eventually be some kind of rear light and license plate holder. Licence plate lights will be mounted later, when the whole thing is mounted to the frame. |
|
|
|
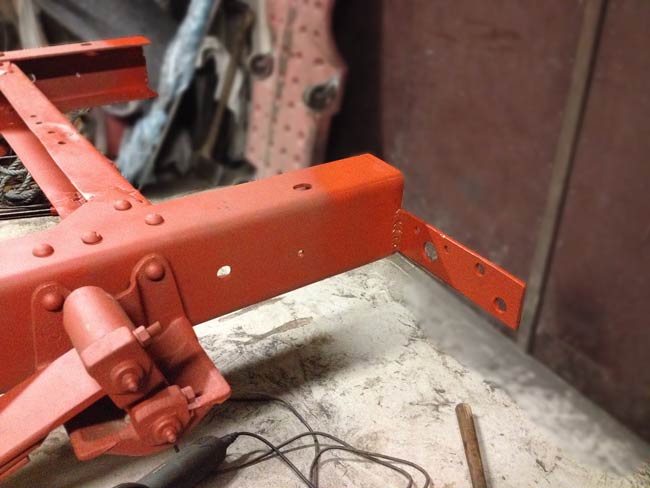
The frame was cut about 8 inches in the rear. Part of the cut offs were welded back on to the frame at an angle to serve as mounting plates for the rear lamp ramp. |
|
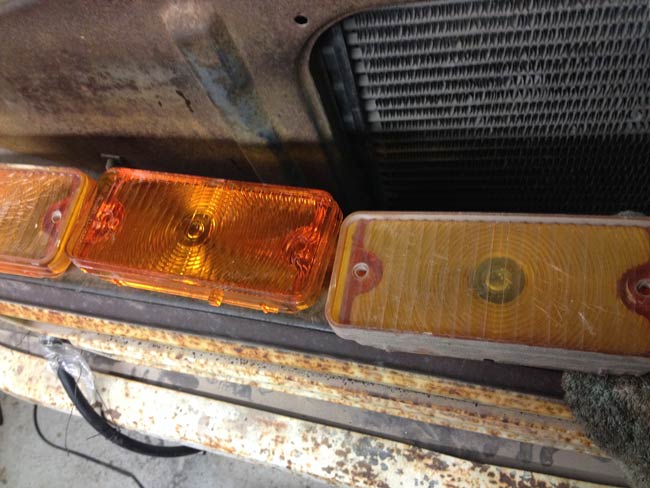
All the lamps and lights will be renewed. Here is a new front park/turn signal lens between the old pair. Funny thing these lenses are handed. That is, the right hand one won't fit on the left hand side. Hard to see any reason for this, they look totally symmetric. Wonder if it was pure luck, that the new ones happened to be one of each?
|
|
|
|
A couple days ago the rear lamps and licence plate mount was bolted to the frame, and bridged with parts from a third metal box with rounded corners. These boxes have been mounted in the top of the windscreen on a bus with had back lit destination signs in them. Recycling at its best. |

|
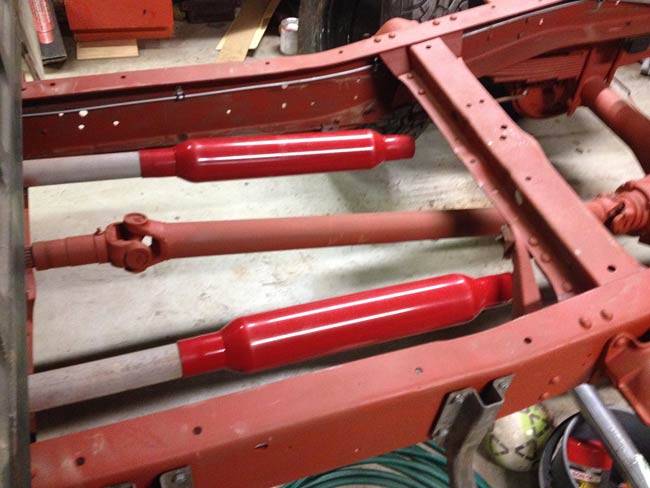
New RedHots mufflers tried on the old cut exhaust pipe stubs. Some shopping will have to be done, before fabricating of the new pipes can be commenced. |
|
|
|
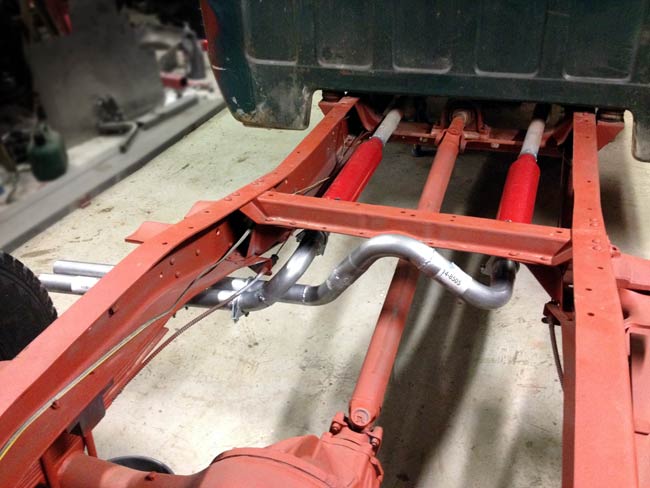
After a trip to the shops the exhaust sytem could be welded and mounted to the truck with nice rubber hangers. As the right and left hand side tubes are of different lengths, it will be interesting to see what it sounds like. Small diameter 2" tubes were chosen to get an old style look, and hopefully sound too.
|
|
Of course we had to start up the engine to have a listen to the new pipes. They do play a nice tune. |
|
|
|
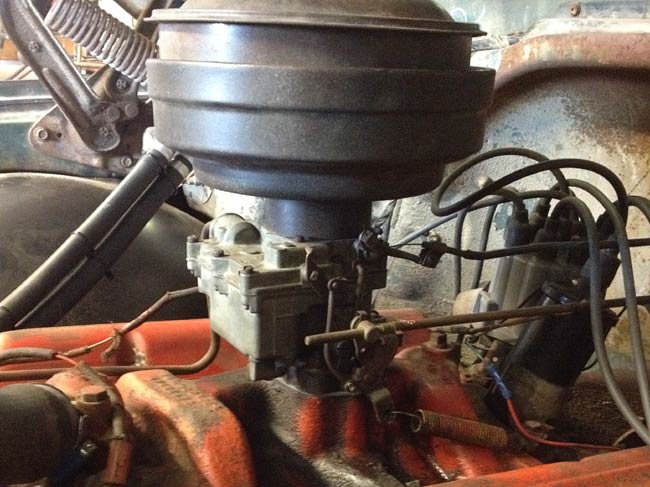
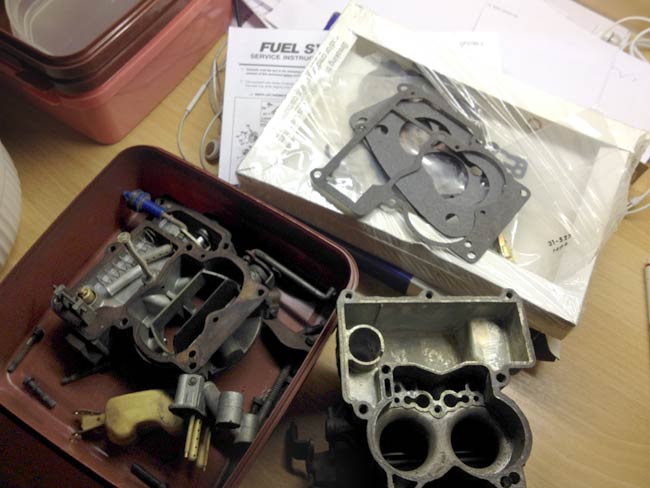
Due to problems wth the automatic choke on the new carburetor, a decision ws made to go on and rebuild the old one. It also has the advantage of being completely compatible with the original throttle linkage and choke wire. |
|
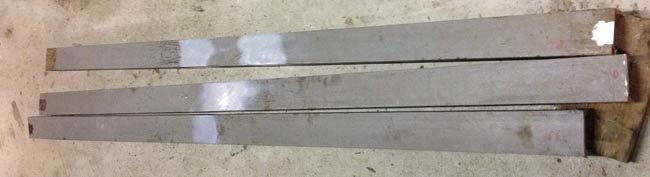
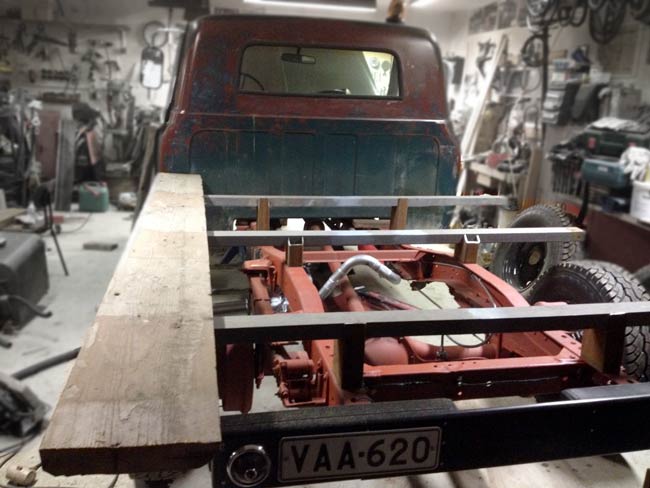
Some scrap iron was welded into 2 meter (about 80") long beams for the new bed. The three of them will stand on the frame held up by short uprights cut from square tubing, and will then carry the planks that the bed floor will be made of.
|
|
|
|
Six pieces of different lengths of 60 x 120 mm |
|
Some testing, trial and error style was done to determine the best looking height of the bed. It now sits a bit lower than first planned, and there is room for about 10 cm (4") of suspension travel at the rear wheels, which probably is the lowest we can go. The plank in the pic is a bit over length, plans call for a bit shorter bed planks, they'll over hang the rear lamps a bit, maybe 20-30 cm (8-12"). |
|
|
|
The carburetor was finally assembled after all passages had been checked and cleaned. |

|
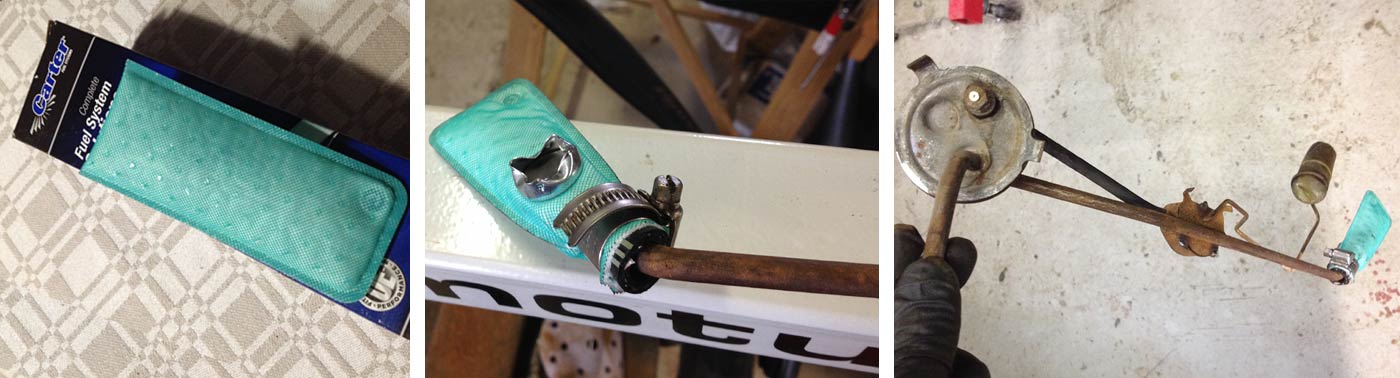
The mesh sock on the fuel pickup tube was totally shot, and a new one was made from a sock for a newer car. it was cut off, and mounted to the tube with a hoseclamp and a piece of fuel resistant rubber hose. The hole in it was sealed off with a round piece cut out of sheet metal.
|
|
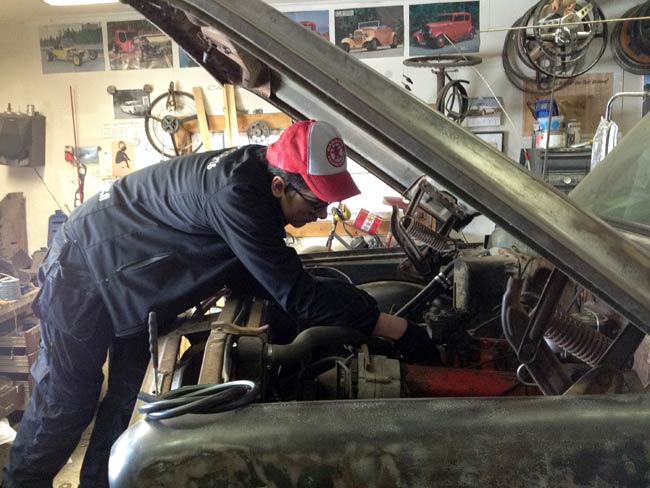
William leant a helping hand, and is seen here changing the carburetor.
|
|
|
|
The old carb back where it belongs. It felt nice to be able to mount the choke wire too, so now it works from the original knob on the dash. |